Cal Flame BBQ09843B Manuel d'instruction - Page 5
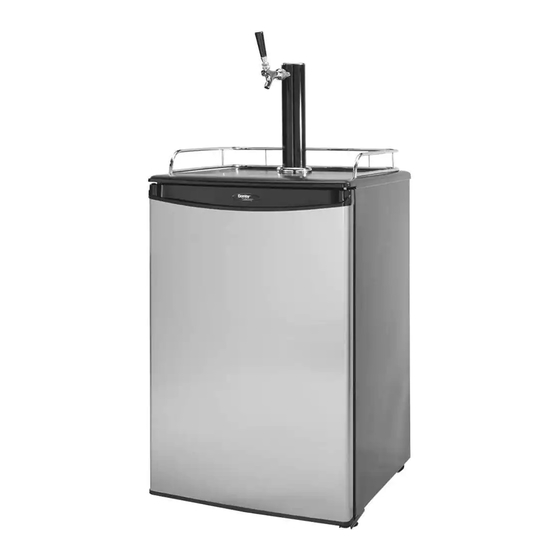
Parcourez en ligne ou téléchargez le pdf Manuel d'instruction pour {nom_de_la_catégorie} Cal Flame BBQ09843B. Cal Flame BBQ09843B 13 pages. Beer keg refrigerator

Risk of child entrapment! Before throwing away your old appliance, remove the door so that children may
not easily become trapped inside.
•
Take off the doors.
•
Leave the shelves or other accessories in place so that children may not easily become trapped inside.
(Note: If the refrigerator has been placed in a horizontal or tilted position for any period of time,
please wait at least 24 hours before plugging the unit in.)
PROPER LOCATION
•
To ensure that your beer keg fridge works to the maximum efficiency it was designed for, keep it in a
location where there is proper air circulation and electrical outlets.
•
Choose a location where the beer keg fridge will be away from heat and will not be exposed to direct
sunlight.
•
This beer keg fridge is designed for indoor use only -- it should not be used outdoors.
•
This beer keg fridge is a freestanding design and should not be placed in a built-in or recessed area.
•
Beer keg fridge unit dimensions:
21.3" W x 33.20" H (with casters) x 26.60" D
•
The following dimensions are recommended for clearances around the beer keg fridge:
Sides :
5" (12 cm)
Back :
5" (12 cm)
USE OF EXTENSION CORDS
Always avoid using an extension cord because of potential safety hazards in certain conditions. If it is
necessary to use an extension cord, use only a 3-wire extension cord that has a 3-blade grounding plug.
And use the cord with No. 14 AWG minimum size and rated not less than 1875watts.
ASSEMBLY INSTRUCTIONS
Read assembly instructions carefully to ensure that you understand all installation
instructions before installing the beer keg fridge. If after completing the process you are still
unsure whether the beer keg fridge has been properly installed, we recommend that you contact
a qualified installer.
Note: Allow the beer keg fridge to stand in an upright position for at least 8 hours before plugging in the
unit. This is very important! Once the unit is laid on its side, the refrigeration in the refrigeration system is
shifted. The refrigerant in the refrigeration system needs to stabilize before the unit is turned on.
Installing the Casters
Follow the steps below to install the casters.
1. Empty the inside of the cabinet
completely and lay the beer keg fridge
down on it's side. We recommend that
you place a piece of cardboard or cloth
underneath the cabinet to prevent dents
or scratches.
2. Insert the casters into the holes on the
bottom corners of the cabinet. Tighten
each caster by turning the nut clockwise
with a wrench (not provided in the kit).
3. Once all four casters have been
tightened, stand the cabinet in its upright
position.
Note: Two of the casters include locking mechanisms
to ensure the unit does not slide on hard floors. These two locking casters should be fastened at the front
DANGER!
5
Page.
