Clam 8419 Manuel d'instructions - Page 3
Parcourez en ligne ou téléchargez le pdf Manuel d'instructions pour {nom_de_la_catégorie} Clam 8419. Clam 8419 10 pages.
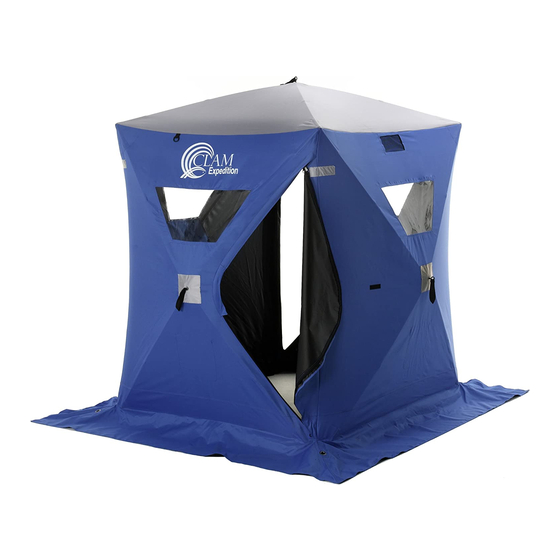
2. Open the shelter so that the gray top is facing
upward. Make sure that the tent is not twisted or
overlapping the ends of any poles (Photo 2). Do NOT
force the shelter while unfolding.
3. Stand on the skirt of the long side of the shelter, grasp
the loop sewn onto the eyelet in the center of the roof with
one hand, and place your other hand on the opposite side at
the roof line. Pull upward on the loop while pushing on the
roof line until the roof section pops up. (Photo 3).
4. Once the roof is popped up, go to one of the short (5
foot) side of the shelter. Step on the skirt, feet wide
(Photo 4), grab the top corners on both sides and pull
straight up (Photo 5 & 6). Once the wall is up, grasp the
loop sewn onto the eyelet in the center of the short side wall
and pull outward until the wall pops out (Photo 7).
Repeat this procedure for all the walls, going around the
shelter either clockwise or counter-clockwise (Photo 8).
NOTE: It may take a few practice times to get the set-up
process down. Lifting straight up on the side walls is
critical to set-up of the Expedition. This alleviates
binding of the hubs & poles.
Photo 4
Photo 7
Page 3
HUB & BASE CAMP EXPLODED DRAWING
ASSEMBLY INSTRUCTIONS
Photo 5
Photo 8
Photo 2
Photo 3
Photo 6
Photo 9