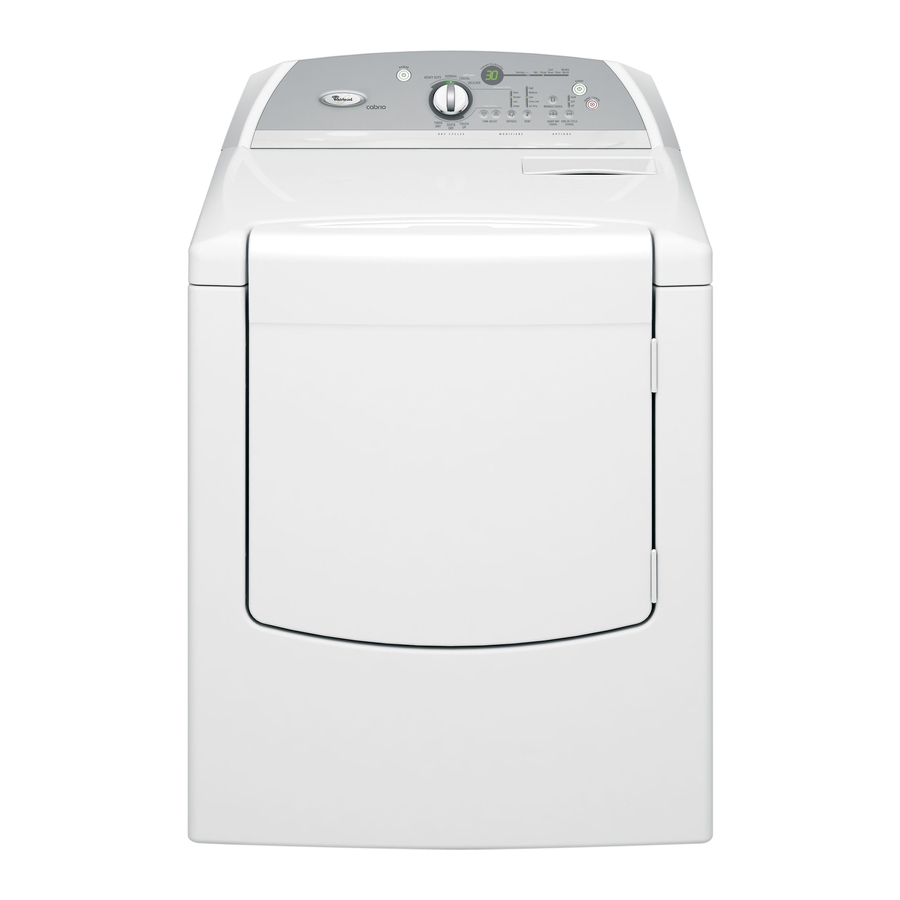
Whirlpool WGD6400SW0 Fiche technique - Page 2
Parcourez en ligne ou téléchargez le pdf Fiche technique pour {nom_de_la_catégorie} Whirlpool WGD6400SW0. Whirlpool WGD6400SW0 12 pages. 29" gas dryer
Également pour Whirlpool WGD6400SW0 : Liste des pièces (8 pages), Manuel de démarrage rapide (6 pages)

TECH SHEET - DO NOT DISCARD
Power button controls
Status indicators at right.
Rotating knob turns
indicators on or off.
"Less Time" button
"More Time" button
turns the right digit of
turns the left digit of
the display on or off.
the display on or off.
Figure 1. Console Diagnostics.
DIAGNOSTIC: Motor, Heater, and Console ID
Close the door. Press the Start button. The motor and heater will
turn on, and the display will show one of the following console IDs:
C0
C1
C2
C3
C4
C5
C6, C7
,
,
,
,
,
,
If none of the Console IDs above are displayed, replace the
user interface assembly. See Accessing & Removing the
Electronic Assemblies, page 11.
If the motor does not turn on, go to TEST #3, page 6.
If no heat is detected, go to TEST #4, page 7.
DIAGNOSTIC: Displaying Line Voltage
Used to display the line voltage currently being measured by the
machine control:
After all saved fault codes have been displayed, press the Cycle
Signal button. The last 2 digits of the voltage value will be
displayed on the dual 7-segment display.
A Dryness modifier LED will also be illuminated to indicate the
voltage range corresponding to the number displayed. The
Dryness LEDs relate to specific voltage ranges as follows:
The More LED will be illuminated for high voltage readings
(above 132 VAC).
The Normal LED will be illuminated for normal voltage readings
(90-132 VAC).
The Less LED will be illuminated for low voltage readings
(below 90 VAC).
DEACTIVATING THE DIAGNOSTIC TEST MODE
Press the Pause/Cancel button twice to exit diagnostics.
FOR SERVICE TECHNICIAN'S USE ONLY
Dryness button controls
all indicators above button.
C8
C9
,
, or
.
Temperature button controls
Each button controls
all indicators above button.
its own indicator.
ACTIVATING THE MANUAL LOAD TEST
1. Be sure the dryer is in standby mode (plugged in with all
indicators off, or with only the Clothes Dry indicator on).
2. Select any one button (except Pause/Cancel) and follow the
steps below, using the same button (remember the button):
Press/
Release
Press/
hold 2-5
for 2-5
hold 2-5
seconds
seconds
seconds
88
flashes momentarily, the motor starts right away, and the
Heavy Duty LED flashes (this step starts the Manual Load
sequence):
1. Turn on motor.
Flash "Heavy Duty" LED.
Now press any key (except Pause/Cancel) and the control will
advance through each step of the following sequence:
2. Motor + heater.
3. No loads on (motor + heater off).
4. Repeat using same button.
DEACTIVATING THE MANUAL LOAD TEST
Press the Pause/Cancel button to exit this mode.
Start button turns on dryer.
Turns off all indicators and
exits diagnostic mode.
Release
Press/
Release
for 2-5
hold 2-5
for 2-5
seconds
seconds
seconds
Flash "Casual" LED.
Flash "Normal" LED.
Start sequence again at 1.
PART NO. W10054160
PAGE 2
Press/
hold 2-5
seconds
