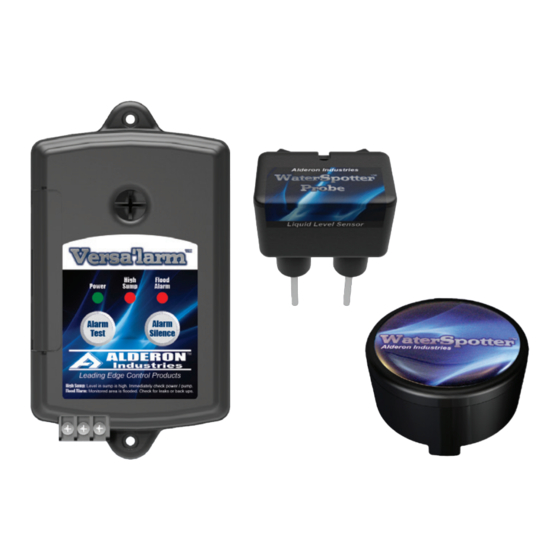
Alderon Industries Versa'larm VA02A Manuel d'utilisation, d'entretien et d'installation - Page 4
Parcourez en ligne ou téléchargez le pdf Manuel d'utilisation, d'entretien et d'installation pour {nom_de_la_catégorie} Alderon Industries Versa'larm VA02A. Alderon Industries Versa'larm VA02A 4 pages. 2-zone alarm, sump and flood

Versa'larm
2-Zone Alarm - Model VA02A | Sump and Flood
Operation, Maintenance and Installation Manual
Installation of the Alarm Panel Continued
6. Connect normally open sensor #1, sump probe (rated 9 VDC, 200mA Minimum) to Terminals C and 1 on the terminal
block of the alarm panel. Connect normally open sensor #2, flood sensor to Terminals C and 2 on the terminal block of the
alarm panel. See below (Fig. 12) for wiring example. The alarm is activated by a "closed" switch. CAUTION! - When install-
ing the "Signaling Device", refer to its installation instructions for proper installation.
(Fig. 12)
7. Plug the alarm panel power supply into a 120 VAC, 50/60 Hz standard
wall outlet and the green "Power" LED should illuminate (Fig. 13).
Testing the Alarm Panel
1. Test the alarm panel by pressing and holding the "Alarm Test" pushbutton (Fig. 14) or activating the "Signaling Device"
(i.e., float switch or water sensor / Fig. 15). The buzzer should annunciate and the alarm LED(s) should illuminate. Press the
"Alarm Silence" pushbutton and the buzzer should silence while the alarm LED(s) remain on. After you remove pressure
from the "Alarm Test" pushbutton or deactivate the "Signaling Device", the "Auto Reset" feature reactivates the alarm panel
for the next alarm cycle. If testing with "Signaling Device", make sure to test all devices for complete system operation. Test
product weekly to ensure system integrity.
Alarm Systems
Control Panels
Alderon Industries - Hawley, MN | 218.483.3034 | [email protected] | alderonind.com
™
#1 - WaterSpotter™ Sump Probe
#2 - WaterSpotter™ Flood Sensor
(#1)
(#2)
(Fig. 14)
Float Switches
(Fig. 15)
Leak Detection Systems
(Fig. 13)
5 ft. Max
Page 4 of 4
