Clarke 6500010 Instructions d'utilisation et d'entretien - Page 7
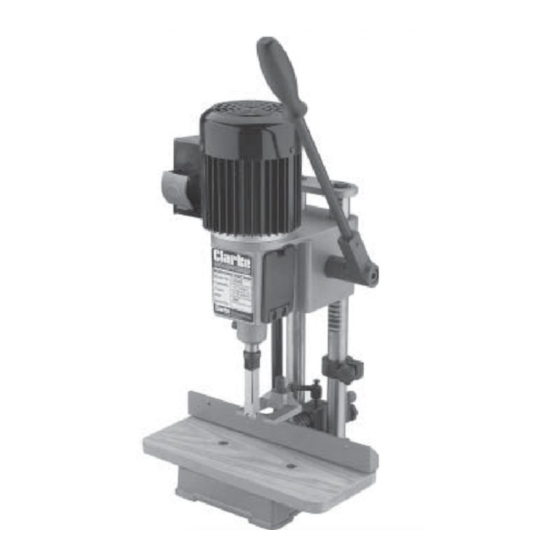
Parcourez en ligne ou téléchargez le pdf Instructions d'utilisation et d'entretien pour {nom_de_la_catégorie} Clarke 6500010. Clarke 6500010 14 pages. Mortising machine

5.
Assemble the Table to the base using
the two screws provided.
6.
Insert the bar of the Fence assembly
through the hole in the column and
secure with the Fence Locking Handle.
7.
Assemble the 'Hold Down' on the
vertical post of the fence assembly, and
secure with the set screw, using the
Allen Key provided. (see fig. 4)
CHISEL AND BIT
WARNING: Make sure switch is in OFF
position and power cable is unplugged
before performing checks, adjustments,
or setup procedures.
1.
Loosen the two cover securing knobs on the
head and remove the cover, to expose the
chuck.
Ensure the chuck is firmly secured to the
spindle, by holding the spindle with an appro-
priate spanner using the flats adjacent to the
top edge of the chuck, and screwing the
chuck on tightly.
2.
NOTE: There are two different size chisel
bushes provided. Determine which size fits
the chisel to be used, and store the other
one in a safe place for future use.
Insert the chisel bush up through the hole in
the head, ensuring the round hole in the side
of the bush faces the front of the machine.
The chisel securing screw, on the front of
the head, must pass through this hole to
secure the chisel. Screw in the screw a few
turns, to temporarily hold the bush in
position.
Fig. 4
Fig. 5
8
Fig.3
