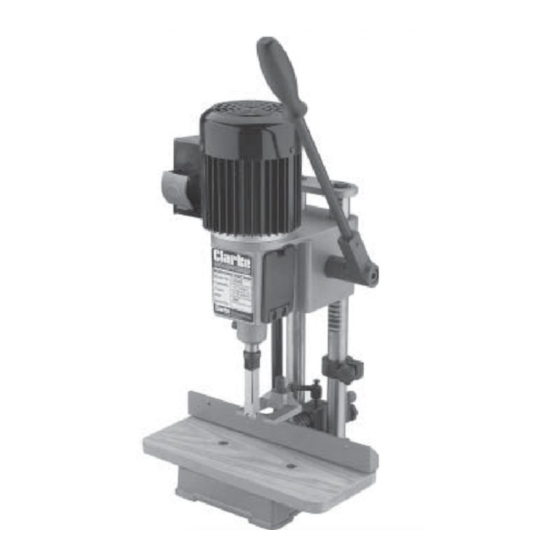
Clarke 6500010 Instructions d'utilisation et d'entretien - Page 6
Parcourez en ligne ou téléchargez le pdf Instructions d'utilisation et d'entretien pour {nom_de_la_catégorie} Clarke 6500010. Clarke 6500010 14 pages. Mortising machine

UNPACKING
Unpack the shipping carton, and
lay out the components so that
they can be clearly identified.
Check them off as follows:
A. Morticing Machine
B. Hydraulic Cylinder
D. Handle
E. 3/4" Chisel Bush
F. 5/8" Chisel Bush
G. Fence Locking Handle
I. Chuck Key
J. Allen Key - 4mm
K. Allen Key - 5mm
L. Table
M. Hold Down
N. Fence
O. Screw (2 off)
Not Shown
1. 13mm Mortice Chisel set.
2. 1/2" Chuck (Fitted)
ASSEMBLY.
WARNING: For your own safety, do not connect the Mortising Machine to a power
source until it is fully assembled, and you have read and understood all safety and
operational instructions.
CAUTION: Do not allow brake fluids, gasoline, penetrating oils, etc., to come in contact with
plastic parts. These solutions contain chemicals that can damage and/or destroy plastics.
1.
Screw the Handle (D) into the hole on
the pinion shaft. (see fig.2)
2.
Use the handle to raise the head to the
top of its' travel, and hold in place.
3.
Secure the Hydraulic Cylinder to its' two
fittings by pushing on the spherical
housings until they click into place. One
fitting is located on the column and one
on the side of the head. The head will
now be held in position, (see fig 3).
4.
You may now want to reposition the
handle. To do this see "Raising and
lowering the Head" on page 9.
Fig. 1
Fig. 2
7
