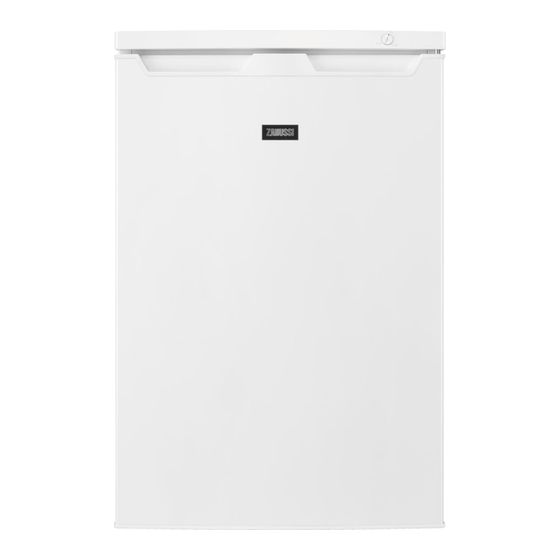
Zanussi ZYAN8FW0 Manuel de l'utilisateur - Page 8
Parcourez en ligne ou téléchargez le pdf Manuel de l'utilisateur pour {nom_de_la_catégorie} Zanussi ZYAN8FW0. Zanussi ZYAN8FW0 21 pages.
Également pour Zanussi ZYAN8FW0 : Manuel de l'utilisateur (17 pages)

2. Connect the wire coloured blue to the terminal
either marked with the letter "N" or coloured
black.
3. Connect the wire coloured brown to the
terminal either marked with the "L" or coloured
red.
4. Check that no cut, or stray strands of wire is
present and the cord clamp (E) is secure over
the outer sheath.
Make sure the electricity supply voltage is the
same as that indicated on the appliance rating
plate.
5. Switch on the appliance.
The appliance is supplied with a 13 amp fuse (B).
In the event of having to change the fuse in the plug
supplied, a 13 amp ASTA approved (BS 1362)
fuse must be used.
WARNING! A cut off plug inserted
into a 13 amp socket is a serious
safety (shock) hazard. Ensure that it is
disposed of safely.
RUBBER SUPPORTING PAD
There is no need to install this additional equipment
provided in a bag to your appliance during normal
use.
However, there is a risk the appliance become
unstable when all food products are placed only on
door shelves. In this case install the rubber
supporting pad:
1. Tilt the appliance carefully on a soft foam
packaging or similar material to avoid any
damage to the back of the appliance and the
floor.
2. Find a hole in a lower base cover and insert a
screw into the rubber supporting pad.
3. Screw it to the base cover with a cross
screwdriver.
8
DOOR REVERSIBILITY
WARNING! Before carrying out any
operations, remove the plug from the
power socket.
1. Make sure the appliance stands upright.
2. Open the door and remove the door
equipment. Refer to "Daily Use" chapter. Close
the door.
3. Unscrew the screws on the back of the top
cover.
4. Lift the top cover and place it on a soft surface.
5. Unscrew the 4 screws.
6. Lift the upper hinge and put it in a safe place
together with the screws.
7. Lift the door and put it on a soft surface.
8. Tilt the appliance carefully on a soft foam
packaging or similar material to avoid any
damage to the back of the appliance and the
floor.
9. Unscrew the screws of the bottom hinge and
adjustable feet.
