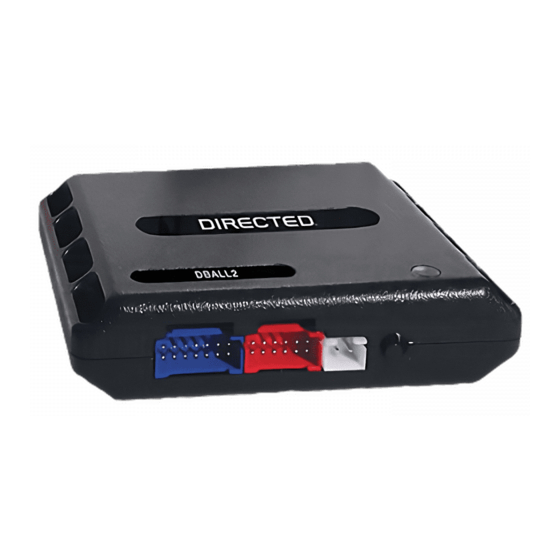
Directed Electronics Xpresskit DBALL Manuel d'installation - Page 10
Parcourez en ligne ou téléchargez le pdf Manuel d'installation pour {nom_de_la_catégorie} Directed Electronics Xpresskit DBALL. Directed Electronics Xpresskit DBALL 14 pages. Databus all combo bypass module
Également pour Directed Electronics Xpresskit DBALL : Manuel d'installation (14 pages)

Platform: DBALL
Firmware: GM5
Please Note:
When a DBALL is used in D2D with either Viper , Clifford
remote starter
MUST
be placed in the
Module Programming
If using in D2D: Connect the 10-pin, 12-pin & 14-pin
1a
harnesses to the module. Press & hold the Integrated
Programming button (IPB), then connect the 4-pin D2D
harness.
If using in W2W: Connect the 10-pin & 12-pin
1b
harnesses to the module. Press & hold the Integrated
Programming button (IPB), then connect the 14-pin
harness to the module.
2
Wait until the LED turns ON orange then release the IPB.
The LED turns ON red.
Make sure the vehicle cannot start:
3
-
Automatic transmission
-
Manual Transmission
4
Turn the key to START and keep this position until the LED
starts to flash green.
5
Turn the key back to the ignition position until the LED stops
flashing green and turns ON solid for 3 seconds.
6
You can remove the key, the module is now programmed and ready to operate.
Module reset will be done automatically upon programming.
The Mobile Integration Systems
™
™
or Python , the jumpers on the
Horizontal
operating position.
: Put transmission in D position.
: Do NOT press the clutch pedal.
Vehicle CAN Bus Integration System
™
th
5
st
1
st
1
&
Solid Orange
KEY
KEY
© 2010 Directed Electronics. All rights reserved.
Rev.: 20101103
Page 10
Jumper
position
rd
3
nd
2
th
4
th
4
nd
2
rd
3
&
Release
Solid Red
Position
No
Clutch
"D"
&
Flashes
&
Solid Green
x3 secs
KEY
