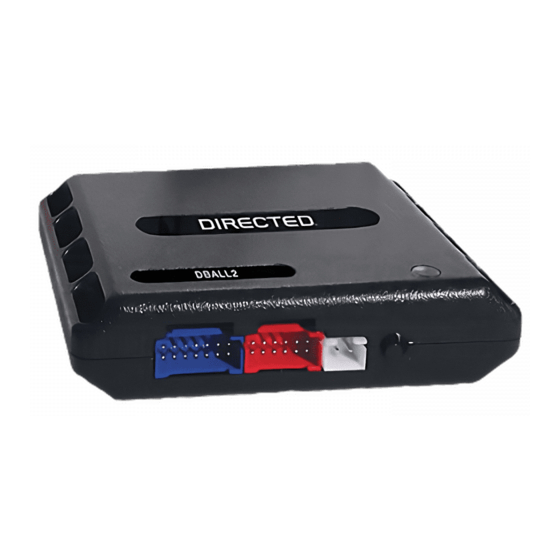
Directed Electronics Xpresskit DBALL Instrukcja instalacji - Strona 10
Przeglądaj online lub pobierz pdf Instrukcja instalacji dla Akcesoria samochodowe Directed Electronics Xpresskit DBALL. Directed Electronics Xpresskit DBALL 14 stron. Databus all combo bypass module
Również dla Directed Electronics Xpresskit DBALL: Instrukcja instalacji (14 strony)

Platform: DBALL
Firmware: GM5
Please Note:
When a DBALL is used in D2D with either Viper , Clifford
remote starter
MUST
be placed in the
Module Programming
If using in D2D: Connect the 10-pin, 12-pin & 14-pin
1a
harnesses to the module. Press & hold the Integrated
Programming button (IPB), then connect the 4-pin D2D
harness.
If using in W2W: Connect the 10-pin & 12-pin
1b
harnesses to the module. Press & hold the Integrated
Programming button (IPB), then connect the 14-pin
harness to the module.
2
Wait until the LED turns ON orange then release the IPB.
The LED turns ON red.
Make sure the vehicle cannot start:
3
-
Automatic transmission
-
Manual Transmission
4
Turn the key to START and keep this position until the LED
starts to flash green.
5
Turn the key back to the ignition position until the LED stops
flashing green and turns ON solid for 3 seconds.
6
You can remove the key, the module is now programmed and ready to operate.
Module reset will be done automatically upon programming.
The Mobile Integration Systems
™
™
or Python , the jumpers on the
Horizontal
operating position.
: Put transmission in D position.
: Do NOT press the clutch pedal.
Vehicle CAN Bus Integration System
™
th
5
st
1
st
1
&
Solid Orange
KEY
KEY
© 2010 Directed Electronics. All rights reserved.
Rev.: 20101103
Page 10
Jumper
position
rd
3
nd
2
th
4
th
4
nd
2
rd
3
&
Release
Solid Red
Position
No
Clutch
"D"
&
Flashes
&
Solid Green
x3 secs
KEY
