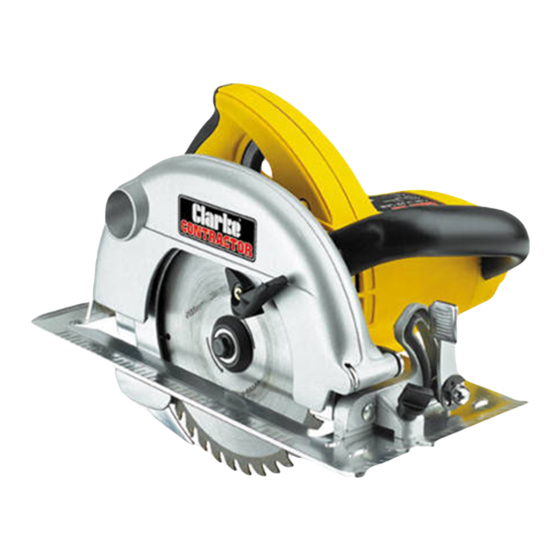
Clarke Contractor CCS2 Manuel d'utilisation et d'entretien - Page 5
Parcourez en ligne ou téléchargez le pdf Manuel d'utilisation et d'entretien pour {nom_de_la_catégorie} Clarke Contractor CCS2. Clarke Contractor CCS2 6 pages. 185mm

4. Starting
Place the leading edge of the Guide Plate on the top face of the workpiece,
ensuring the saw blade IS NOT making contact. (See 'General Notes', which follow, for
more detailed information Re: marking the workpiece and accurate cutting etc.)
Hold the saw FIRMLY with both hands, then press the Interlock Button 'M' Fig. 1 and pull up
the ON/OFF switch.
The saw will start. Proceed to feed the saw into the work firmly and at a slow rate. Do not
force it.
Be aware that sawdust will be emitted from the dust extractor outlet. Suitable
precautions should be taken to protect property etc.
5. Stopping
R
elease the ON/OFF switch and allow the saw blade to stop completely before
withdrawing the saw from the cut. NEVER attempt to remove the saw with the
blade rotating and NEVER attempt to stop the blade by lateral pressure..
General Notes
.
Always support work as near as possible to the cut.
1
2.
Support work so that the off-cut will be on your right hand side.
3.
Clamp workpiece so that it will not move during the cut.
4.
Side on which finished appearance is important should be face down.
5.
Before beginning a cut, draw a guide line along the desired line of cut, then
place the front edge of the Guide Plate on that part of the work that is solidly
supported.....NEVER on the part of the work that will become the off-cut.
The notch on the front of the Guide Plate is marked 45
guideline with the 0
O
mark.
IMPORTANT! When marking your guideline, you must take into account the
thickness of the saw blade. This must be added to your desired width.
Since the blade thickness may vary, always test on a scrap piece first to determine
how much, if any, the guideline must be offset to produce your desired width.
Parallel Cut
Making a parallel cut using the Parallel Stop.
Position the face of the Stop firmly against the edge of the workpiece, this makes
a true cut without pinching the blade.
The guiding edge of the workpiece must be straight for your cut to be straight. Use
caution to prevent your blade from binding in the cut.
Bevel Cut
The angle of cut of your saw can be adjusted from 0º and 45º, there is a cutting indication
notch in the sole plate to assist in lining up the line of cut.
Align your line of cut with the inner guide on the sole plate, (45º), when making full 45º
bevel cuts, make a test cut on a scrap piece first, again to determine how much offset,
if any, is needed in order to produce your desired width.
O
and 0
O
. Line up your
8
Electrical Connections
This product is provided with a standard 13 amp, 230 volt (50Hz), BS 1363 plug, for
connection to a standard, domestic electrical supply. Should the plug need changing at
any time, ensure that a plug of identical specification is used.
WARNING
This appliance is Double Insulated, and the two wires in the mains lead should
be wired up in accordance with the following colour code:
BLUE
BROWN
•
Connect the BLUE coloured cord to the plug terminal marked a letter "N"
•
Connect the BROWN coloured cord to the plug terminal marked a letter "L"
If this appliance is fitted with a plug which is moulded on to the electric cable (i.e. non-
rewireable) please note:
1. The plug must be thrown away if it is cut from the
electric cable. There is a danger of electric shock if
it is subsequently inserted into a socket outlet.
2. Never use the plug without the fuse cover fitted.
3. Should you wish to replace a detachable fuse
carrier, ensure that the correct replacement is used
(as indicated by marking or colour code).
4. Replacement fuse covers can be obtained from
your local Clarke dealer or most electrical stockists.
FUSE RATING
The fuse in the plug must be replaced with one of the same rating (13 amps) and this
replacement must be ASTA approved to BS1362.
If in doubt, consult a qualified electrician. Do not attempt any electrical repairs yourself.
CABLE EXTENSION.
Always use an approved cable extension suitable for the power rating of this tool (see
specifications), the conductor size should also be at least the same size as that on the
machine, or larger. When using a cable reel, always unwind the cable completely.
-
NEUTRAL
-
LIVE
5
