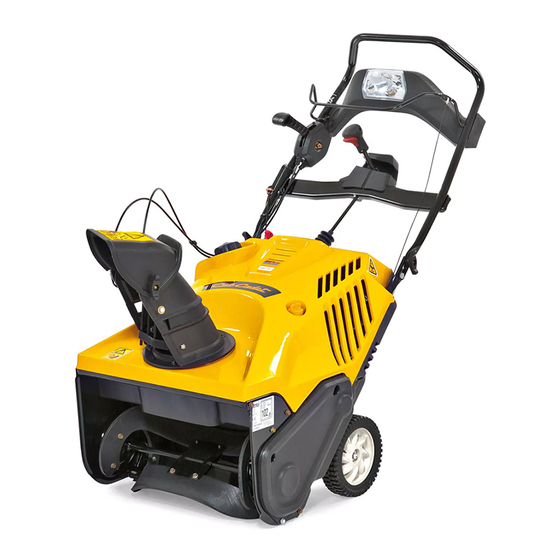
Cub Cadet 221 LHP Manuel de l'opérateur - Page 9
Parcourez en ligne ou téléchargez le pdf Manuel de l'opérateur pour {nom_de_la_catégorie} Cub Cadet 221 LHP. Cub Cadet 221 LHP 20 pages. Single stage snow thrower
Également pour Cub Cadet 221 LHP : Brochure & Specs (2 pages), Manuel de l'opérateur (20 pages), Spécifications (2 pages), Manuel de l'opérateur (20 pages)

2.
Using the four hex washer screws, install the chute rotation
control assembly. See Figure 3-8.
Figure 3-8
3.
Remove the screw and hex lock nut from the universal
joint. See Figure 3-9.
Hex Lock Nut
Screw
Hex Lock Nut
Chute Rod
Figure 3-9
NOTE: Make sure the chute is facing forward when
installing the universal joint.
4.
Install the universal joint on the end of the chute rod as
shown in Figure 3-9.
NOTE: Be sure the holes in the universal joint line up with
the holes in the chute rod. You may have to activate the
trigger to allow you to line up the holes.
5.
Secure the universal joint with the hex nut and screw
previously removed. See Figure 3-9.
Universal Joint
Screw
6.
Slide the rubber bellow over the universal joint. See Figure
3-10.
Figure 3-10
Installing the Recoil Starter Handle
1.
Remove the eye bolt and handle knob from the manual bag.
2.
Place the eye bolt and handle knob on the upper handle
as shown in Figure 3-11. Do not fully tighten the hardware
until instructed to do so.
Recoil Starter Handle
Eye Bolt
Handle
Knob
Figure 3-11
NOTE: The opening of the eye bolt should face toward the
back of the snow thrower.
3.
Slowly pull the recoil starter handle up towards the eye
bolt.
4.
Slip the recoil starter rope into the eye bolt from the back
of the snow thrower. See Figure 3-11.
5.
Securely tighten the eye bolt and handle knob.
S
ection
Rubber Bellow
3 — A
& S
-U
SSembly
et
p
9
