3d-printz Naughty 2000 Manuel d'instructions - Page 7
Parcourez en ligne ou téléchargez le pdf Manuel d'instructions pour {nom_de_la_catégorie} 3d-printz Naughty 2000. 3d-printz Naughty 2000 9 pages.
yet!) . The fuselage parts are best glued with thick CA without accelerator or epoxy
resin, so that there is enough time for the alignment of the tube. Finally, the front
can be connected to the back.
For the canopy glue together canopy_front and canopy_rear, mount the
magnetholder with 2x M2 Screws to the fuselage (above the servos), and glue in the
magnets to the canopy and magnetholer (keep polarization in mind)
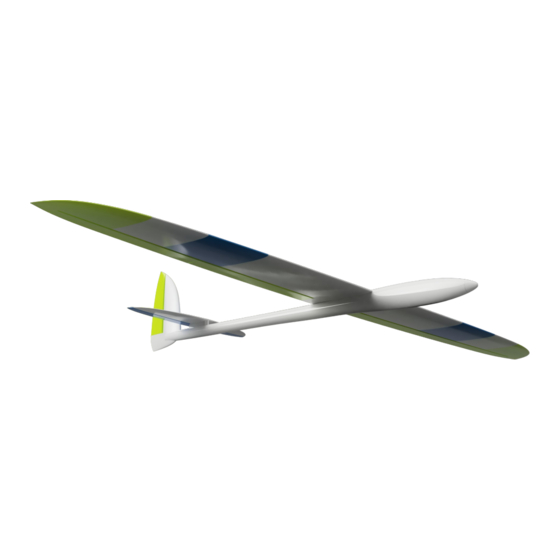
stab
Glue the parts El_right, El_middle and El_left and the corresponding rudder
surfaces together (4mm carbon tube obligatory!)
Then screw the entire horizontal stab to the pylon using M5 and M3 screws and the
associated nuts (these are pushed into the slots in the pylon). The tailplane must be
parallel to the wing - therefore, as a guide, mount the wing center section on the
fuselage with 2x M6 screws, apply adhesive to the pylon (the tailplane is already
screwed on) and glue the pylon to the fuselage so that the tailplane is parallel to
the wing.
Then the vertical stabilizer, the rudder (TPU hinges) and the skid can be aligned
and glued in the same way.
electronics