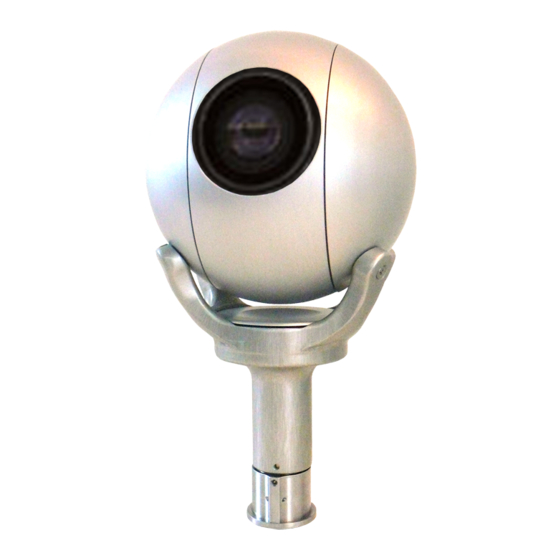
Camera Corps Q-Ball Manuel d'utilisation - Page 3
Parcourez en ligne ou téléchargez le pdf Manuel d'utilisation pour {nom_de_la_catégorie} Camera Corps Q-Ball. Camera Corps Q-Ball 9 pages. Camera corps q-ball robotic color camera

Q-Ball – Operation Manual
The right hand two DIP switches are used to compensate for the length of cable used between the Q-Ball
head and the Interface Unit. For cable lengths less than 10m both switches should be OFF. For a 10m
cable SW3 should be ON and SW4 OFF. For a 20m cable SW3 should be OFF and SW4 ON. If a 30m
cable is used then both switches should ON.
The LED below the DIP Switches indicates that power is present.
Note that the head unit can be plugged in and out of the interface while power is on without damage.
However, if the camera is plugged into an interface unit which is already switched on, then initial data
which is sent to the camera during switch on will be missed and the camera may be in a non standard
condition.
Changing the Camera Format
The Q-Ball can operate in both SD and HD modes at 50hz or 59.94 hz. Both 720p and 1080i formats are
available in HD. In SD modes both 4x3 and 16x9 aspect ratios can be selected.
The required format is set using the rotary channel select switch together with the four DIP switches. The
following procedure must be followed to set or change the format:-
(Note that the Q-Ball camera head unit must be connected during this procedure)
Remove power from the Interface Unit.
Set the rotary channel select switch to channel 0.
Set the four DIP switches to the required format using the table below.
Apply power to the Interface Unit and wait until the LED below the channel select switch flashes
RED/GREEN. (Approx 10secs).
Remove power from the unit and set the rotary channel select switch and DIP switches to their
normal required settings.
Next time power is applied to the Interface unit the camera will have the new format.
The DIP switches on the top of the interface unit must also be changed for SD or HD modes.
(Visible through the slot in the top panel) SW1, 2 and 7 must OFF for HD and ON for SD.
DIP SWITCH >
HD
1080i /50
HD
1080i /59.94
HD
720p/50
HD
720p/59.94
SD
PAL(50) 16x9
SD
PAL(50) 4x3
SD
NTSC(59.94) 16x9
SD
NTSC(59.94) 4x3
V6.3
1
2
OFF
OFF
ON
OFF
OFF
ON
ON
ON
OFF
OFF
OFF
OFF
ON
ON
ON
ON
Page 2 of 8
3
4
OFF
OFF
OFF
OFF
OFF
OFF
OFF
OFF
ON
OFF
ON
ON
ON
OFF
ON
ON
2/2/2013
