Acoustical Systems SMARTractor Manuel du propriétaire - Page 4
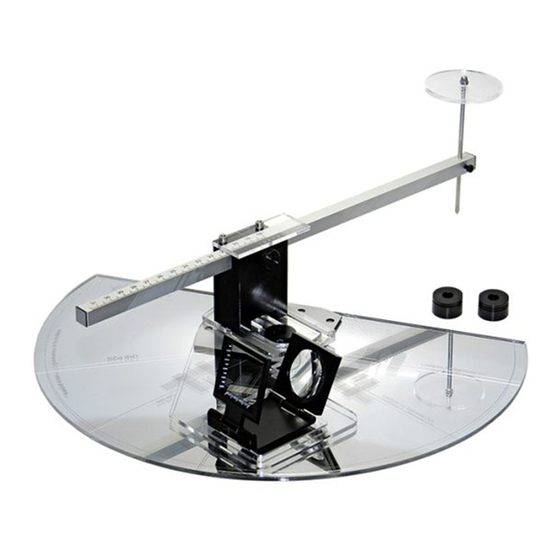
Parcourez en ligne ou téléchargez le pdf Manuel du propriétaire pour {nom_de_la_catégorie} Acoustical Systems SMARTractor. Acoustical Systems SMARTractor 8 pages. Universal high-precision triangular positioning & alignment instrument for optimized analog phono tonearm alignment & true one-point cartridge set-up

Setting up the
SMARTractor
20 mm spindle ring
and 12 mm insert
Step 1
The SMARTractor is already pre-assembled
with the 20 mm POM spindle ring (part of the uni-
versal 3-part spindle-adapter) sitting in the center
of the SMARTractor.
First place the SMARTractor - with the 20 mm
POM spindle ring - on the spindle.
Step 2
Now take the
12
mm (tall) or 6 mm (short
and wide collar) spindle ring insert**
SLOWLY and CAREFULLY place it on the top
of the spindle and ever so slightly press down.
IMPORTANT - be carefull!
** 12 mm or 6 mm spindle insert ??
The 12 mm (tall) insert will work with small diameter spindles (smaller
then 7.15 mm diameter). The 6 mm (wide) insert will work with 7.2 and
wider diameter.
Do not press down the spindle adapter too hard or too deep. On some
spindle it will only be 2-3 mm or less. If you press too hard, you will
have a very hard time getting the white 20 mm POM ring off your
spindle again.
The 12 mm and / or 6 mm spindle adapter insert allows the precise
centering of the SMARTractor on a wide range of spindle diameters.
Remember - Please be careful and do not use any excessive force.
Pushing down realy hard creates a VERY tight lock which you will
have big problems loosening up again.
Measuring P2S
Step 3
If you want to measure the arm mounting
distance or P2S, rotate the central block to the
UNI P2S
fixing the positioning arm in the black POM
block.
The engraved line on the center piece will meet
the line at
Slide the central assembly back or forth so that
the hole for the thumbscrew is aligned with the
. Now
locking thread for the selected curve - there is
only 1 possible thread hole to move to in each
position.
Fix the assembly in place by re-installing and
tightening the thumbscrew. The thumbscrew need
only be very snug by hand tension.
4
position, loosen the locking screw
"UNI
P2S".
UNI P2S
