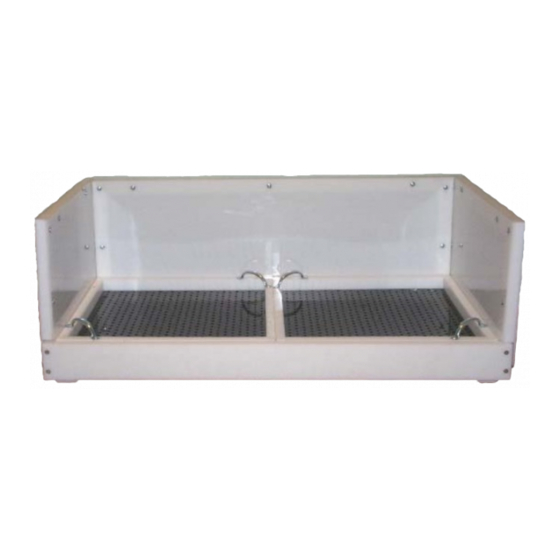
Doggy Solutions Pet Patio Potty Manuel d'instructions de montage - Page 3
Parcourez en ligne ou téléchargez le pdf Manuel d'instructions de montage pour {nom_de_la_catégorie} Doggy Solutions Pet Patio Potty. Doggy Solutions Pet Patio Potty 8 pages.
Également pour Doggy Solutions Pet Patio Potty : Manuel (5 pages), Manuel de démarrage rapide (6 pages), Manuel (5 pages), Instructions de montage (4 pages)

3. Using one of the "Module Attaching Screws",
attach the right side of the Front module to
the right side of the Back module. This screw
is inserted at an angle into the pre-drilled
holes in the modules (Photo 3).
4. In a similar fashion, attach the left side of the
Front module to the left side of the Back
module.
5. Apply caulk from the tube provided to the seam between the Front and Back
modules to prevent any urine from seeping through this seam. Allow caulk to
dry completely before proceeding with Set-Up in next section.
6. During the assembly of the Plexiglas panels described below, do not leave any
of the individual panels unsupported before the side braces are inserted. The
Plexiglas panels can crack if they are left unsupported by the side brace. Also
exercise caution in handling the panels since the edges are sharp. During the
assembly process, each panel should be positioned in such a way so that the
shorter piece of Plexiglas slides inside the box frame and the longer piece of
Plexiglas slides outside the box frame. The top of the frame of each panel
should rest on top of the corresponding side brace.
7. Position the panel labeled "Panel 2" on the left
side of the Left Module.
Doggy Solutions – Pet Patio Potty |
3
1181 S. Huron Street, Denver Colorado USA 80223
www.doggysolutions.com
| 303.777.7195
