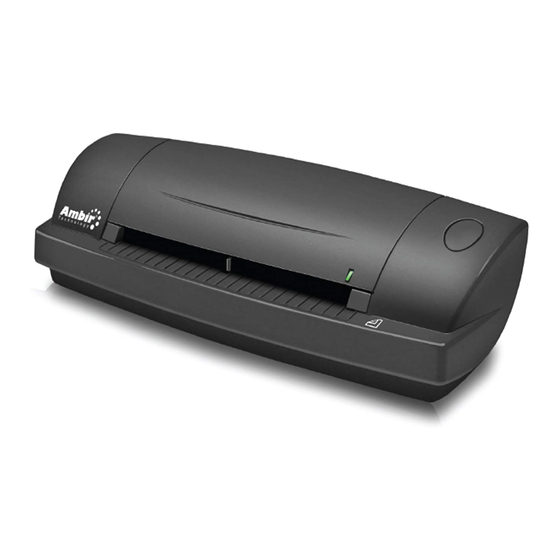
Ambir DocketPORT 687 Manuel de l'utilisateur - Page 8
Parcourez en ligne ou téléchargez le pdf Manuel de l'utilisateur pour {nom_de_la_catégorie} Ambir DocketPORT 687. Ambir DocketPORT 687 10 pages. Duplex id card & license scanner

- 1. User Guide
- 2. CE Conformity and FCC Statement
- 3. Table of Contents
- 4. Introduction to Docketport ® 687 Scanner
- 5. Software & Hardware Installation
- 6. Uninstall Scanner Driver Software
- 7. Install Scanner Hardware
- 8. Using Your Scanner
- 9. Tips & Cautions
- 10. Technical Support & Product Warranty Information
Using your Scanner .....................
Important note: Before using your scanner for the first time you must calibrate the unit.
Performing Initial Scanner Calibration
There are two different ways to calibrate your scanner:
1) Calibrate from Scanners and Cameras under Control Panel
a. Go to: Windows "START" / Control Panel /(Printer and Other Hardware)
Scanners and Cameras; you will see your model listed here.
b. Right click on your scanner model and a pull down window will appear.
c. Select "Calibrate" option to start this process.
d. Vista users need to right click on the scanner model and go to "Properties".
e. Insert the calibration target and select "Calibrate" button.
2) From your bundled software application ( or your own TWAIN compliant application)
a. Install the bundled software application.
b. Under the menu toolbar select: File / Select Source (Scanning Source).
c. Choose your scanner model "DocketPORT 687".
d. Do not select the "WIA-DocketPORT 687" at this time.
e. Under the menu toolbar select: File / Acquire Image Data...
f. The TWAIN user interface appears (see image below).
g. Insert the calibration target that came with your scanner then select "Calibrate".
NOTE: If scanned image quality has become unsatisfactory, we recommend you first clean the scanner with
the included cleaning sheet and then recalibrate the scanner.
NOTE: Should you lose or forget the calibration target when traveling, you can simply use any plain "white" piece of
printer paper cut to (4" x 6") to perform the calibration. Accept the message to proceed to scanning.
- 7 -
