Canon XL 1 Panduan Pengguna - Halaman 14
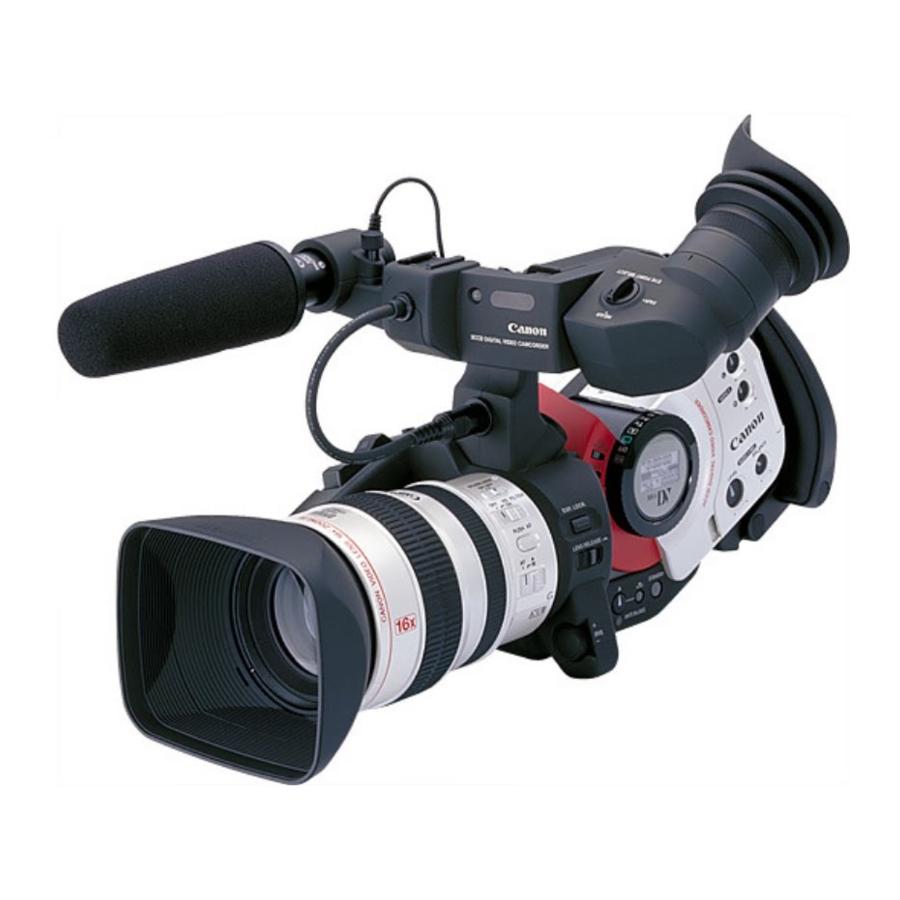
Jelajahi secara online atau unduh pdf Panduan Pengguna untuk Camcorder Canon XL 1. Canon XL 1 26 halaman. Camcorder
Juga untuk Canon XL 1: Brosur (8 halaman), Spesifikasi (1 halaman), Petunjuk (2 halaman), Brosur & Spesifikasi (8 halaman), Panduan Pengguna (9 halaman), Manual (9 halaman)
b. Turn the LEVEL dial to adjust the recording level and BALANCE dial
to adjust the balance between the two inputs. Check the levels in the
audio LCD panel. Note: you cannot adjust the volume level
independently for the left and right channels. We recommend keeping
the level below the 12 point index mark, and monitoring the sound
using headphones. You can adjust the headphone volume by rotating
the PHONES LEVEL dial.
Audio 1 Input for Two Channel Recording (Stereo 1) using the RCA jacks, where
the sound sources are XLR type microphones attached via the MA-100 Microphone
Adapter/Shoulder Pad which contains 2 XLR inputs (L and R). The MA-100 can be
plugged into the AUDIO 1 RCA terminals on the back of the camcorder, or AUDIO 2
RCA terminals on the right side of the grip handle.
1. Open the Camera Menu.
Select AUDIO MODE and choose one of the following modes:
a. 16-bit 48KHz 2 channel (for the highest sound quality) Note: the 16-bit
mode contains only Stereo 1 sound. There is no Stereo 2 in this mode.
b. 12-bit Stereo 1 (32kHz, 2 out of 4 total channels) for recording on 2
channels (Stereo 1), leaving 2 channels (Stereo 2) free for you to add
new sound at a later date using a DV VCR. NOTE: you cannot add
new sound to a tape using the XL1 camcorder.
Close the menu. Chosen mode is displayed in the finder and main LCD.
2. If you are using the AUDIO 1 inputs, slide the INPUT SELECT switch to
AUDIO 1. This assigns the AUDIO 1 RCA jacks (on the back of the XL1) as
the source for the audio input, and disables the supplied microphone.
3. Open the Camera Menu and select AUDIO 1 INPUT, then choose:
a. MIC ATT 20: recording high-level sound using a mic
b. MIC: to record sound using an XLR microphone
4. Select the recording level method. Normally, the camera sets the audio
recording level automatically, as long as the REC LEVEL switch is set to A
(automatic). You can set the recording level manually:
a. Slide the REC LEVEL switch of the AUDIO 1/Mic controls to M.
(MANU appears in the audio LCD panel).
14