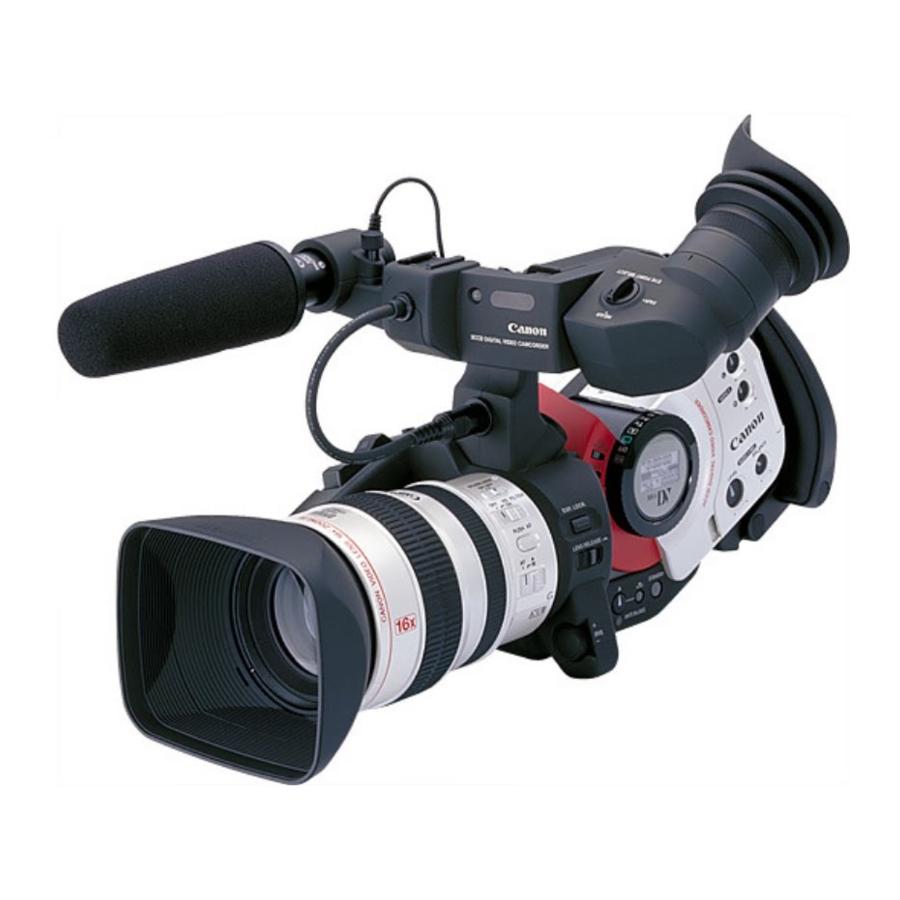
Canon XL 1 Panduan Pengguna - Halaman 4
Jelajahi secara online atau unduh pdf Panduan Pengguna untuk Camcorder Canon XL 1. Canon XL 1 26 halaman. Camcorder
Juga untuk Canon XL 1: Brosur (8 halaman), Spesifikasi (1 halaman), Petunjuk (2 halaman), Brosur & Spesifikasi (8 halaman), Panduan Pengguna (9 halaman), Manual (9 halaman)

• Using the various recoding programmes
The camera provides you with a choice of six recording programs. They use different
combinations of camera settings in order to adjust the exposure and other functions to
match the recording situation.
The name of your selected recording program appears constantly on the left of the
display, with the exception of the Easy Recording program whose mark is displayed
and then disappears after 4 seconds.
Easy recording
The simplest way to use the camera is with the POWER dial set to the position. The
camera will take care of focus, exposure and other adjustments, leaving you free to
point and shoot.
Auto
In normal recording conditions, set the POWER dial to (Auto). This is the same as the
Easy Recording program, except that you now have the option of using any of the
camera's manual functions — you can adjust focus and exposure, set the white
balance, and so on.
Manual
Select this program for total creative freedom when operating the camcorder. You can
set aperture and shutter speeds completely independently to give you exactly the
exposure you require.
Giving priority to shutter speed (Tv)
Use this program to let you select the shutter speed.
The camera sets the appropriate aperture (F number) automatically to give the correct
exposure. When you turn the POWER dial to Tv, the current shutter speed is shown in
the viewfinder. Select your desired shutter speed by pressing the SHUTTER and other
buttons.
You can choose 9 shutter speeds between 1/60 and 1/15,000 of a second.
• If you try to set a shutter speed that is either too high or too low for the shooting
conditions, the indicator flashes in the viewfinder. In this case, increase or decrease
the setting until the flashing stops, or slide the ND FILTER switch ON/OFF as
appropriate before changing the setting.
4
