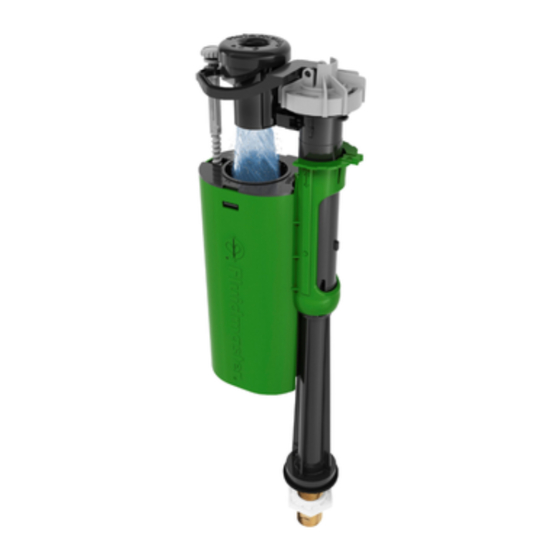
AIR GAP Fluidmaster 6000 Series Panduan Instalasi - Halaman 7
Jelajahi secara online atau unduh pdf Panduan Instalasi untuk Unit Kontrol AIR GAP Fluidmaster 6000 Series. AIR GAP Fluidmaster 6000 Series 8 halaman. Bottom entry valve assembly

'Up' in
unlocked
position
unlocked
position
'Down' in
locked
position
6000 Series AirGap™ Installation Guide
Water level adjustment
'Up' in
Step 9
Based on your reading taken in Step 2,
fine tune the water level by turning the
float adjustment screw. Flush to check
the new level and readjust as necessary.
Note: Clockwise rotation will raise the water
level, counterclockwise rotation will decrease
the water level.
Step 10
(for bottom entry valve only)
To make larger adjustments to the
height, turn the water supply off and
unlock the float chamber and locking
sleeve by lifting it upwards.
Important note: Do not force the float
chamber and locking sleeve beyond the
height shown, causing this tab to bend. This
may result in damage to the valve and
invalidate the warranty.
Step 11
(for bottom entry valve only)
When the valve has been adjusted to
the required height, push the float
chamber and locking sleeve back
down to relock the mechanism.
Note: Ensure the float chamber and locking
sleeve are returned to the locked position
before restoring the water supply.
