Asus Tinker Board Series Panduan Pengguna - Halaman 7
Jelajahi secara online atau unduh pdf Panduan Pengguna untuk Motherboard Asus Tinker Board Series. Asus Tinker Board Series 12 halaman.

- 1. Table of Contents
- 1. 1 Basic Requirements
- 2. 2 Getting Started
- 2. Setting up Using Emmc (Tinker Board S Only)
- 2. Setting up Using a Microsd Card
- 3. 3 Writing the os Image
- 3. Using Etcher (Cross-Platform)
- 3. Using DD Command (Linux)
- 4. 4 OS Write Recovery (Tinker Board S Only)
- 4. Rewriting the os Using UMS from Emmc
- 4. Rewriting the os Using UMS from a Microsd Card
3.
Writing the OS image
You may write your downloaded OS image to a microSD card or built-in eMMC using
Etcher (supports Windows
eMMC is only supported on Tinker Board S.
3.1
Using Etcher (Cross-platform)
Etcher is an image file utility used for burning image files, and supports Windows
OS, and Linux. Etcher also supports burning images directly from the zip file, without
having to unzip the zip file first.
To write an image using Etcher:
1.
Insert a microSD card to a card reader connected to your PC,
or
connect your Tinker Board S to a PC via a micro USB cable. (Tinker Board S only)
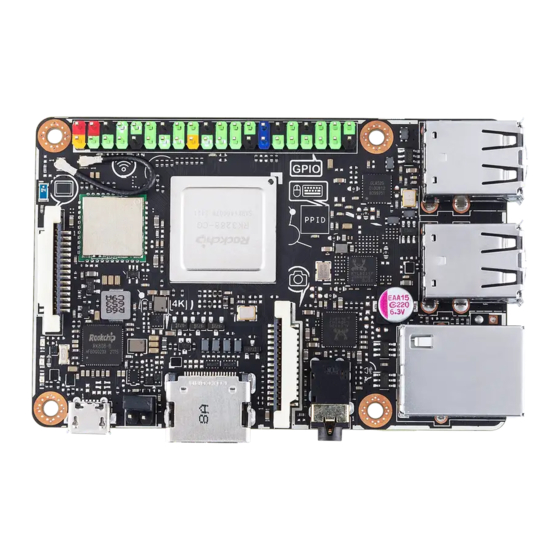
Please refer to your Tinker Board product manual for the location of the microSD slot.
2.
Download Etcher from http://etcher.io/, then launch it.
3.
Click on Select image, then select the downloaded OS image. Please refer to the
screenshots below for TinkerOS_Debian and Android OS examples:
The following screenshots are for reference only.
TinkerOS_Debian
, Mac OS, and Linux), or dd command (Linux only).
®
, Mac
®
7
