Bosch 800 Series Panduan Instalasi - Halaman 15

Jelajahi secara online atau unduh pdf Panduan Instalasi untuk Mesin pencuci piring Bosch 800 Series. Bosch 800 Series 48 halaman. Built-in wall ovens
Juga untuk Bosch 800 Series: Panduan Petunjuk Instalasi (24 halaman), Panduan Instalasi (40 halaman), Panduan Penggunaan dan Perawatan (12 halaman), Panduan Instalasi (23 halaman), Panduan Instalasi (28 halaman), Panduan Instalasi (32 halaman), Buku Petunjuk (32 halaman), Panduan Instalasi (32 halaman), Panduan Memulai Cepat dan Keselamatan (7 halaman), Panduan Penggunaan dan Perawatan (40 halaman), Panduan Instalasi (40 halaman), Panduan Instalasi (32 halaman), Panduan Petunjuk Instalasi (40 halaman), Panduan Penggunaan dan Perawatan (33 halaman), Panduan Penggunaan dan Perawatan (49 halaman), Panduan Memulai Cepat (7 halaman), Panduan Memulai Cepat dan Keselamatan (13 halaman), Panduan Instalasi (32 halaman), Panduan Servis (36 halaman), Panduan Petunjuk Instalasi (29 halaman), Panduan Penggunaan dan Perawatan (24 halaman), Panduan Penggunaan dan Perawatan (40 halaman), Panduan Petunjuk Instalasi (28 halaman)
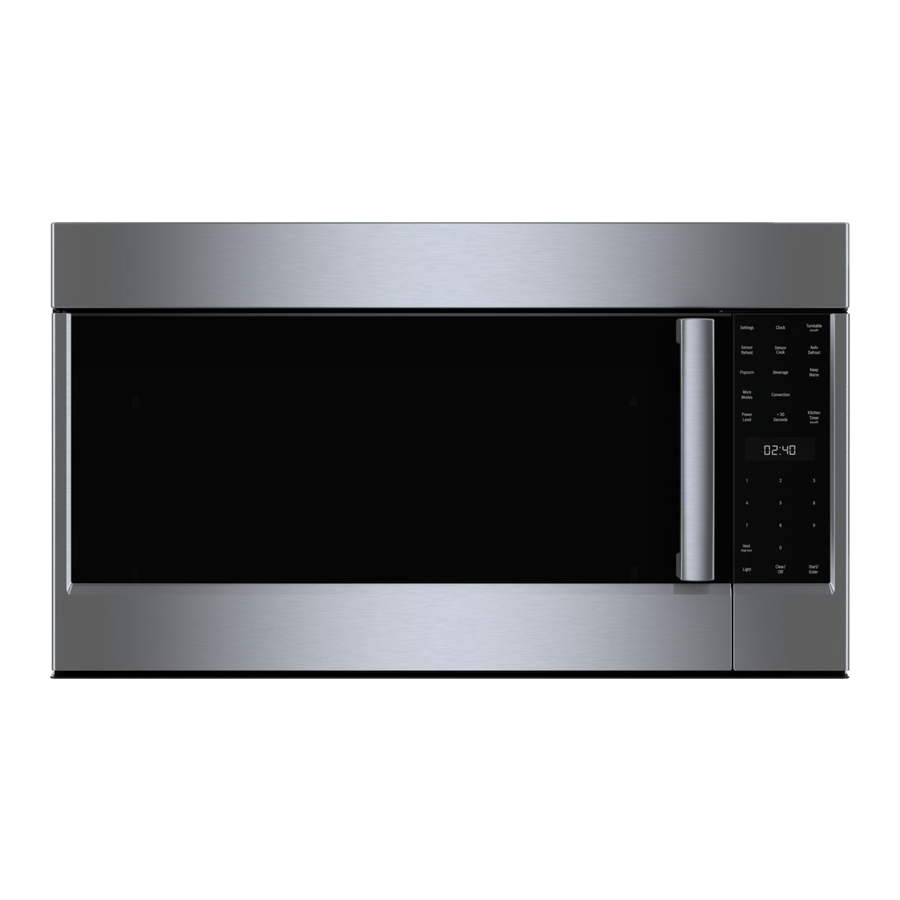
Bosch 800 Series Panduan Instalasi
Align the base of the hook of the bracket with the base
3.
on the slot of the rear wall fastening bracket. Align the
base of the fastening bracket with the ground and
tighten the screws to fix the measurements.
For wall mounting, proceed with steps 5–7 and 10.
4.
For floor mounting, proceed with steps 8–9 and 10.
Use the specified distance from the side of the
5.
appliance to the bracket holes.
Move the bracket onto the wall and fix with the two
6.
washers and screws. A qualified technician must verify
suitability of the materials in accordance with the type
and condition of the wall.
Use the following distances for the distance from the
7.
side of the appliance to the bracket holes.
After having positioned and leveled the appliance,
8.
move the bracket close to the rear of the appliance
and anchor it to the floor with the two washers and
screws. A qualified technician must verify suitability of
the materials in accordance with the type and
condition of the floor.
Push the cooker towards the wall, and at the same
9.
time, insert the bracket in the plate fastened to the rear
of the appliance.
15