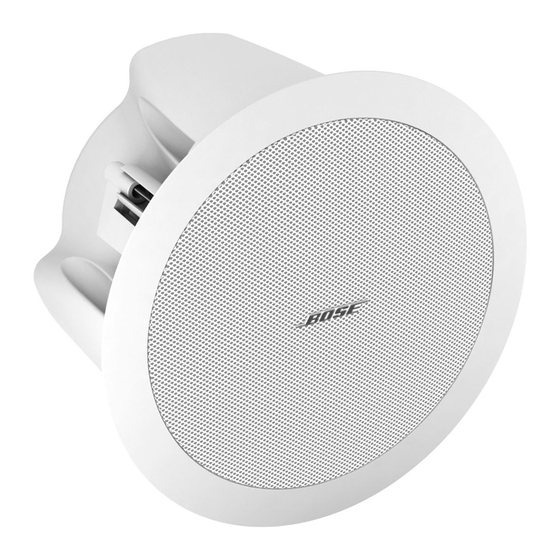
Bose FreeSpace 16 Panduan Servis - Halaman 4
Jelajahi secara online atau unduh pdf Panduan Servis untuk Pembicara Bose FreeSpace 16. Bose FreeSpace 16 8 halaman.
Juga untuk Bose FreeSpace 16: Panduan Instalasi (12 halaman)

DISASSEMBLY / ASSEMBLY PROCEDURES
Note: Refer to Figure 2 for the following
procedures.
1. Grille Assembly Removal
1.1 Gently pull the grille assembly (15)
away from the baffle (5). Be careful
not to mark the surface of the grille or
the baffle.
2. Grille Assembly Replacement
2.1 Gently press the grille assembly
(15) down into the baffle (5). Make
sure the grille assembly is fully seated
into the baffle.
3. Transformer, Driver & Rotary Switch
Assembly Removal
3.1 Perform procedure 1.
3.2 Using a cross-head screwdriver,
remove the six screws (1) that secure
the baffle (5) to the enclosure (10).
3.3 Make a note of the wiring configu-
ration and unplug the three wires from
the input terminals (2).
3.4 Using a sleeve barrel driver,
remove the nut that secures the rotary
switch (13) to the baffle (5).
3.5 Using a cross-head screwdriver,
remove the six screws (1) that secure
the driver (7) & transformer (11) to the
baffle.
4. Transformer, Driver & Rotary Switch
Assembly Replacement
4.1 Place the transformer (11), driver (7)
& rotary switch (13) into the baffle (5).
4.2 Secure the driver & transformer in
place using the six screws (1)
removed in procedure 3.5.
4.3 Secure the rotary switch into the
baffle using the nut removed in proce-
dure 3.4.
Note: Be sure the rotary switch is fac-
ing the right direction & make sure the
lock washer is at "7" position when
you replace the rotary switch onto the
baffle.
4.4 Respectively plug the three cable
wires onto the input terminals.Yellow
for "70/100V", white
blue for "8 Ω".
4.5 Secure the enclosure to the baffle
using the six screws removed in
procedure 3.2.
4.6 Perform procedure 2.
3
for "COM", &
