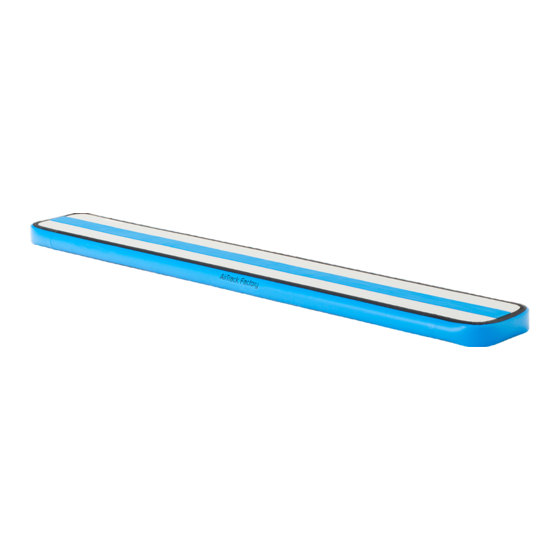
AirTrack Factory AirBoard Panduan Pengguna - Halaman 5
Jelajahi secara online atau unduh pdf Panduan Pengguna untuk Aksesori AirTrack Factory AirBoard. AirTrack Factory AirBoard 7 halaman.
Juga untuk AirTrack Factory AirBoard: Panduan Pengguna (12 halaman)

S E T T I N G U P & P A C K I N G U P
The thickness of an AirProduct has an effect on how the product can be used. Most of our products
for home use are 10 cm thick. This goes for the AirFloors, AirBeams, and AirBoards.
When products are 10 cm thick the pressure in the product needs to be high enough to prevent
you from hitting the floor. You can find the recommended pressures on page six, but in the end it's
up to the users' preferences.
!
When rolling up the AirBeam, make sure that the center line is facing down!
8
SET-UP
1
2
Foot pump
Make sure the adapter is placed on the hose properly (4) and the blower or footpump is set to inflate (1,3).
5
6
Open the grey valve by twisting it to the left (6). Make sure the pin inside the valve is pressed out (8).
9
10
Attach the blower by twisting the adapter to the right (10) and turn on the blower. Your AirProduct should
start inflating. When fully inflated remove the hose. The AirProduct should not release air. (13)
13
14
Check the pressure with the manometer (optional) or jump on the AirProduct to test if the pressure is up
to your standards. If so, close the grey valve (15). Check the pressure before each training.
PACK UP
17
18
Deflate the AirProduct by simply pressing the pin inside the grey valve. The AirProduct should deflate.
21
22
Roll up the AirProduct and store it. To completely deflate the product the blower and foot pump can be
set to deflate. This way the AirProduct will become completely flat.
When rolling up the AirBeam, make sure that the center line is facing down!
www.airtrackfactory.com - [email protected] - Tel. +31 (0)24 89 09 659
3
4
OV10 blower
7
8
11
12
15
16
19
20
23
9
