Abus Vitess Rim Panduan Servis - Halaman 14
Jelajahi secara online atau unduh pdf Panduan Servis untuk Kunci Abus Vitess Rim. Abus Vitess Rim 20 halaman.

ASSEMBLY INSTRUCTIONS - KNK/KIL
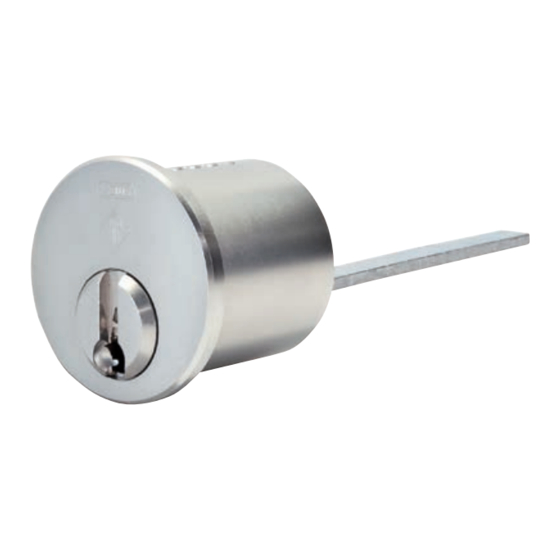
Delivery of the pre-loaded housing
•
Our pre-loaded housing includes all parts that are necessary to
assemble a functional cylinder. Inside the cylinder there is a
black plastic plug which has to be exchanged by a pinned core.
•
The housing is filled corresponding to the factory standard with
steel springs and housing pin
•
In addition, the following parts are included: tailpiece package,
screw cap, tappet and spring
Step 1
•
Insert the cut key into the cylinder core
•
Place the profile check pin in the core
Step 4
•
Position the pinned core with the inserted
cut key and rotate the core to the 2 o'clock
position
Step 7
•
Insert the spring and the tappet into
the drill hole on the backside of the
core (flat side of the tappet goes
into the core)
14
Step 2
•
Insert the hardened InTop pin into the 1st
chamber
•
Attention: Pull the key a little and insert
it again
Step 5
•
Push the core inside until the plastic plug
has been pushed through completely.
•
Rotate the core forward clockwise until the
key is at the 12 o'clock position
Step 8
•
Push the tappet down and insert
the tailpiece and screw together
with screw cap on the backside
of the core
Step 3
•
Insert the bottom pins made of hardened
steel into the 3rd chamber
•
Insert the bottom pins made of nickel silver
into the 2nd and 4th to 6th chamber
Only for master keyed systems: Insert master
wafers
•
Check with cut key – no pin should be
positioned too low or above the shear line
of the core – control with assembly tool
possible
Step 6
•
Remove the key by holding the core with
your thumb
•
The core isn't fixed yet and could be pulled
out with key inside
