Datapath activesqx Panduan Pengguna - Halaman 6
Jelajahi secara online atau unduh pdf Panduan Pengguna untuk Kartu PCI Datapath activesqx. Datapath activesqx 15 halaman.

Installing ActiveSQX Cards
You are likely to need a flat blade and/or a cross head screwdriver for the installation of the ActiveSQX
card; it would be useful to have these to hand before you begin.
•
Power down the PC (including peripherals), switch off at the mains and disconnect all the cables
connected to the computer, noting the positions for accurate re-connection
•
Remove the PC cover
•
Locate a vacant PCI Express slot (x4 or higher) on the motherboard and remove the blanking plate
(retain all screws)
If you are in doubt consult your motherboard documentation to correctly identify a PCI Express slot.
If the card is forced into a 32 or 64 bit PCI or PCI-X slot it will be irreparably damaged when the system
is powered up and the warranty will be void.
•
Reconnect all cables to the PC then connect Network cables (not supplied) to the Ethernet port on the
ActiveSQX capture card
•
Power up the PC and commence the software installation
Multiple ActiveSQX cards can be installed into a system providing more processing and more
simultaneous decodes.
Note:
The ActiveSQX card is only compatible with systems containing Datapath ImageDP4
graphics cards.
How to Connect Input Sources
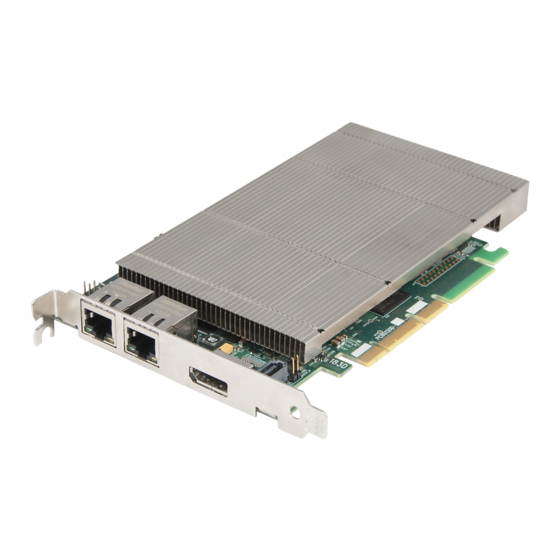
The ActiveSQX card has two Ethernet ports and one currently dormant output DisplayPort connector
(reserved for future use).
Ethernet Port LED's
Green = Activity
Yellow = Link Speed
(On = 100bT)
(Off = 1000bT)
Connect a network cable into one or both of the Ethernet ports. Care should be taken when connecting a
network cable, ensure the cable connector is pushed firmly into the Ethernet port until you hear a definite
click. Failure to connect the network cable properly could result in the network connection being lost.
5
LAN1
LAN2
Output DisplayPort
(Reserved for future use)
