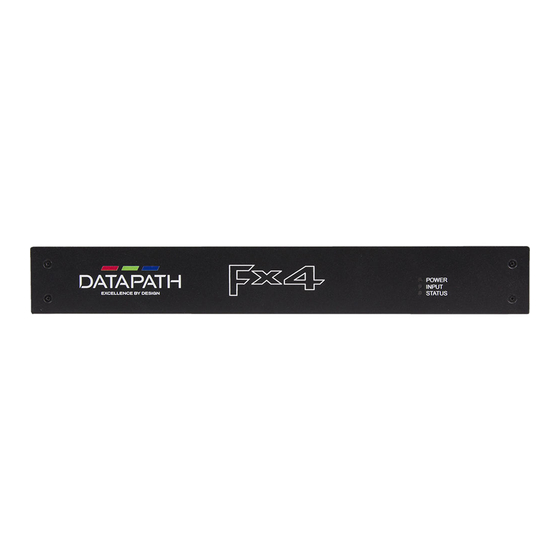
Datapath Fx4 Panduan Memulai Cepat - Halaman 3
Jelajahi secara online atau unduh pdf Panduan Memulai Cepat untuk Pengontrol Datapath Fx4. Datapath Fx4 6 halaman. Multi display controller
Juga untuk Datapath Fx4: Panduan Memulai Cepat (17 halaman)

COPYRIGHT STATEMENT
© Datapath Ltd., England, 2016
Datapath Limited claims copyright on this documentation. No part of this
documentation may be reproduced, released, disclosed, stored in any electronic
format, or used in whole or in part for any purpose other than stated herein without
the express permission of Datapath Limited.
Whilst every effort is made to ensure that the information contained in this Quick
Start Guide is correct, Datapath Limited make no representations or warranties with
respect to the contents thereof, and do not accept liability for any errors or omissions.
Datapath reserves the right to change specification without prior notice and cannot
assume responsibility for the use made of the information supplied. All registered
trademarks used within this documentation are acknowledged by Datapath Limited.
Page 10
STEP 2 CONNECT THE INPUTS
HDMI
Connect your input source to one of the 3 input connectors on the rear of the Fx4. You
can connect up to 3 input sources, 2 x HDMI and 1 x DisplayPort.
Ensure cables are inserted correctly, it is recommended that locking cable connectors
are used.
STEP 3 CONNECT OUTPUTS
DisplayPort
Out Loop
Connect the monitor cables to the monitor output connectors on the rear of the Fx4,
you can connect up to 4 monitors to a single Fx4 unit. Ensure the cables are inserted
correctly, it is recommended that locking connectors are used.
The DisplayPort Out Loop is used to when connecting multiple Fx4 units.
Page 3
DisplayPort
HDMI or DisplayPort
Output Connectors
