Gage Bilt GB704 Panduan Instalasi - Halaman 7
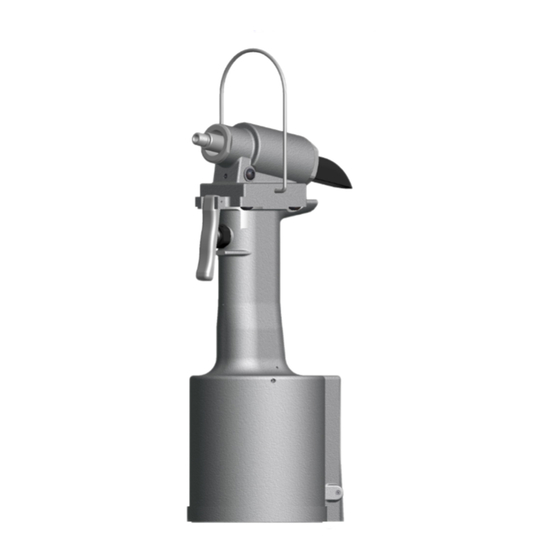
Jelajahi secara online atau unduh pdf Panduan Instalasi untuk Alat Keling Gage Bilt GB704. Gage Bilt GB704 13 halaman. Installation tool
Juga untuk Gage Bilt GB704: Manual (14 halaman), Manual Petunjuk Asli (20 halaman)
FILLING AND BLEEDING TOOL
NOTE:
Air bleeder assy (704153) is required.
WARNING:
Do not cycle tool without air bleeder assy (704153), or the button head cap screw (402482) and stat-o-seal (S572),
installed in the head cylinder assy (704108). Severe personal injury may result.
CAUTION:
Before filling handle assy (704132), the air piston assy (704121) should be all the way down.
CAUTION:
When forcing piston rod assy (704138) downward with head cylinder assy (704108) removed, hydraulic oil will
eject forcibly from handle assy (704132).
CAUTION:
Use CAUTION when removing button head cap screws (402482), stat-o-seals (S572) and air bleeder assy (704153).
Hydraulic oil may be under pressure
WARNING:
Failure to follow these instructions carefully may result in severe personal injury
To replace a small amount of oil in the tool, attach the air bleeder assy and connect tool to air line. Cycle a number of times. Disconnect air, remove
the air bleeder assy, and reinstall the cap screw. Torque 35-40 inch lbs. This will ensure the removal of any air from the hydraulic system and its
replacement with oil.
* FILLING & BLEEDING VIDEO AVAILABLE AT: www.gagebilt.com/bleeding.htm
Should it become necessary to completely refill the tool (such as would be required after tool has been dismantled and reassembled),
take the following steps after depressing air actuator assy
1. Remove (4) button head cap screws (A-928) and head cylinder assy (704108) from handle assy (704132). Slowly push piston (704507)
completely forward.
2. Fill handle assy (704132) and the oil passage on top of handle assy (704132) with automatic transmission oil, Dexron III or
equivalent. When looking at the top of the handle assy (704132), the oil passage is the hole that is counterbored for o'ring (S832).
3. Replace head cylinder assy (704108) with care, ensuring gasket (704129) and o'ring (S832) are properly installed. Torque all (4)
button head cap screws (A-928) uniformly to 40 inch lbs. to prevent leakage around gasket (704129).
4. Remove button head cap screw (402482) and stat-o-seal (S572) from head cylinder assy (704108). Install air bleeder assy (704153)
and connect tool to air line, cycle ten times to fully circulate oil through hydraulic system.
5.
DISCONNECT AIR FROM TOOL.
cylinder assy (704108) and torque to 40 inch lbs. Reconnect air and cycle tool 10 more times. Check tool stroke (we recommend using
dail calipers). Subtract dim "A" from dim "B". If stroke doesn't check .540" (13.72 mm) min. (See figures below) repeat steps 4 & 5.
TROUBLESHOOTING
Providing all maintenance conditions have been met, follow this systematic approach to diagnosis.
1. MORE THAN ONE PULL IS REQUIRED TO BREAK RIVET.
a) Tool needs to be bled. (See filling and bleeding instructions.)
b) Spring has fatigued, replace.
c) Jaws are stripped or packed with chips. Clean or replace.
d) Incorrect nose tip.
2. SLOW OR PARTIAL OPERATION WHEN THE ACTUATOR LEVER ASSY (704343) IS DEPRESSED
a)
Polyseal (A-1118) and O'rings (400789) on piston (704507) could be worn or damaged. Replace.
b)
Backup ring (401102) and O'rings (S945) on piston rod assy (704138) could be worn or damaged. Replace.
c)
Muffler (704146) or filter inside valve spool assy (704143) may be plugged with dirt. Clean thoroughly and back-blow with
compressed air.
d)
Hole in metering screw in valve spool assy (704143) may be blocked or damaged. Hole diameter should be .028". Clear
and size or replace.
3. NO OPERATION WHEN ACTUATOR LEVER ASSY (704343) IS DEPRESSED
a)
Tool seized due to mechanical failure or damaged parts.
4. OIL LEAKAGE
a)
DO NOT
OPERATE WITH OIL LEAKING FROM TOOL. HIGH PRESSURE OIL MAY CAUSE SEVERE PERSONAL INJURY.
b) Any oil leaking externally should be traced to its source. An o'ring or seal that leaks should be replaced.
5. AIR BYPASS FROM VALVE HOUSING
a)
If the spring (704141) breaks or dislodges, air will flow freely through the muffler (704146). Replace or reset. Valve spring
installation tool (704162) is recommended.
b)
Check o'rings on valve sleeve (704140), valve spool assy (704143), and valve plug (704145). If worn or damaged, replace.
Valve sleeve removal tool (704163) is recommended.
6. FASTENER STEM JAMMED IN NOSE ASSEMBLY
a)
Nose assembly components require service.
disassemble. Replace worn or broken parts. Clean the surface the jaws ride on.
b)
Stems lodged side by side in the follower. Disassemble, remove stems, and reassemble.
c)
Incorrect follower.
GB704 S/N: 3213 AND ABOVE
PLEASE CONTACT GAGE BILT FOR ALL OTHER SERIAL NUMBERS.
.
Remove air bleeder assy (704153), install button head cap screw (402482) and stat-o-seal (S572) on head
.740 (18.8mm)
AND DISCONNECTING THE AIR SUPPLY:
.200 (5.1mm)
DISCONNECT AIR FROM
TOOL, remove the nose from the tool and
7
'B'
6/11 Rev. 9/14