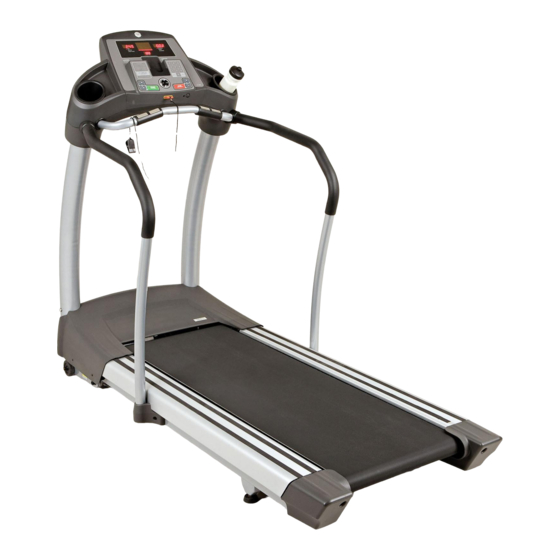
AFG 13.0AT Panduan Pengguna - Halaman 8
Jelajahi secara online atau unduh pdf Panduan Pengguna untuk Treadmill AFG 13.0AT. AFG 13.0AT 20 halaman.
Juga untuk AFG 13.0AT: Panduan Pengguna (19 halaman)

ii ¸ _/
13.0AT
Rev.l.7.indd
14-15
TENSIONING
TIlERUNNING BELT
The running belt has been properly adjusted at the
factory before it was shipped. At times the belt can
move off-center during shipment,
CAUTION: Running belt should NOT be moving during
tensbning.
Over-tightening
the running
belt
can
cause excessive wear on the treadmifl as weft as its
components, Never over-tighten the belt,
If you can feel a slipping sensation when running on the
treadmill, the runnfi7g belt must be tightened, In most
cases, the belt has stretched from use, causing the
belt to slip. This is a normal and common adjustment,
To eliminate this slipping, TURN THE TREADMILLOFF
and tension BOTH THE REAR ROLLER BOLTSusing the
supplied Allen wrench, turning them 1/4 TURN to the
right as shown. Turn the treadmill on and check for
slipping. Repeat if necessary, but NEVER TURN the
roller bolts more than 1/4 turn at a time. Belt is properly
tensioned when the slipping sensation is gone,
Belt istoo far to the right side
Beltis too far to the left side
CENTERING TIlERUNNING BELT
Therunning belt has been properly adjusted at the
factory before it was shipped. At times the belt can
move off-center during shipment. Before operating the
treadmill, make sure the belt is centered and remains
centered to maintain smooth operation,
CAUTION:Do not run belt faster than 1/2 rnph while
centering, Keep fingers, hair and clothing away from
belt at all times,
If the running tier is too far to the right side:
With the treadmill running at 1/2 mph, turn the right
adjustment bolt clockwise 1/4 TURN at a time (using
the supplied Aden wrench). Check the belt alignment.
Allow belt to run a furl cycle to gauge if more adjustment
is needed, Repeat if necessary, until the belt remains
centered during use,
If the running belt is too far to the left side:
With the treadmill running at 1/2 mph, turn the right
adjustment bolt counter-clockwise 1/4 TURNat a time
(using the supplied Allen wrench). Check the belt
alignment, Allow belt to run a furl cycle to gauge if more
adjustment is needed, Repeat if necessary, until the
belt remains centered during use,
/
/
/
& CAUTION_
,f
aa:aa :::::::::::::: [ aa.aaj
"
_)XEAR:RA:E
_
(_CALORIES
®..........®
:)
l
_,WARNING_
Note: Thereis a thin protective sheet of clear plastic on the overlay of the console and should be removed,
A)
WORKOUT PROFILE DISPLAK. Displays workoutprofiles.
B) ADDITIONAL DISPLAY WINDOWS: Time,Incline,Distance,Speed,Heart Rateand Cabries.
C) CLOCK/DATE WINDOW: Displayseither Clockor Date.
D) START.. Simplypress to begin exercisingor starts your workout.
E) STOP: P ress topause/endyour workout.Holdfor 3 secondsto reset the treadmill.
F)
PROGRAMMING BUTTON: Usedto select Program,Leveland Time,and other options. Pressto changedisplay feedback
during workout.
G) INCLINE ARROW KEY$:Pressto adjust incline (+/- 0.57/oo increments).
H) SPEED ARROW KEYS: P ressto adjust speed (+/- O.1MPHincrements).
I)
PROFILE rM BUTTON: Usedto scrod throughproFILE :M display modes.
l)
QUICK ADIUST KEYPAD: Usedto reachdesiredspeedor incline morequickly.
K) AUDIOIN (NOT SHOWN): Plug your CD/ MP3player into the consoleusin_ the included audio adaptor cable.
L)
AUDIOOUT/ HEADPHONE IACK (NOT SHOWN): Plugyour headphonesinto this jack to listen toyour music through the
headphones.
4/1/08
3:41:09
PM
