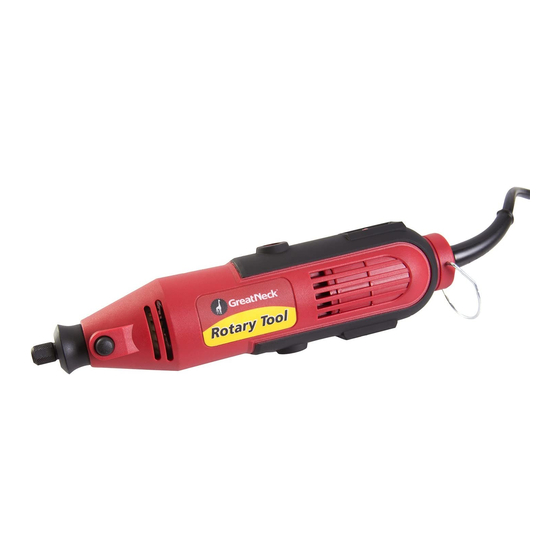
Greatneck 80134 Petunjuk Pengoperasian dan Manual Suku Cadang - Halaman 5
Jelajahi secara online atau unduh pdf Petunjuk Pengoperasian dan Manual Suku Cadang untuk Alat Listrik Greatneck 80134. Greatneck 80134 8 halaman.

Operating Instructions and Parts Manual
ASSEMBLY & OPERATION
SPEED SELECTION
Set Rotary Tool speed by rotating the variable speed
control dial (1) to the appropriate speed (see Fig.1).
Position the speed control dial at "1" for slowest
speed, "3" for medium speed and at "MAX" for the
highest speed.
Fig. 1
ON/OFF SWITCH
To turn the switch ON, push on the lower part of the
ON/OFF switch (1) (see Fig. 2). To turn the switch OFF,
push on the upper part of the ON/OFF switch (2).
Fig. 2
CHANGING THE COLLET
Some accessories require the use of different sized
collets. Collet sizes can be 1/16", 3/32" and 1/8". It is
important to ensure that the collet size matches the
accessory.
NOTE: This tool includes two of the most commonly
used collets: 3/32" and 1/8".
WARNING
Using a collet that is too large for the accessory will
result in the accessory possibly being thrown from the
tool causing serious injury.
1. Turn the tool switch OFF and remove the plug from
the power source.
2. Depress the spindle lock button (1) and slowly turn
the collet nut (2) until the spindle lock button locks
the spindle. (see Fig. 3)
3. While holding the spindle lock button down, turn
the collet nut counter clockwise until it is removed.
4. Remove the collet (3) by pulling it out of the
spindle (4).
06/15
2015 GREATNECK
5. Insert the replacement collet into the spindle and
replace the collet nut by turning it clockwise while
holding the spindle lock button down.
NOTE: Do not tighten the collet nut without an
accessory installed in the collet. You will damage the
collet.
Fig. 3
Fig. 3
INSTALLING ACCESSORIES
1. Turn the switch OFF and disconnect the tool from
the power source.
2. Depress the spindle lock button (1) and slowly turn
the collet nut (2) until the spindle lock button locks
the spindle.
3. While holding the spindle lock button down, turn
the collet nut counter clockwise until the collet is
loose inside the collet nut.
Fig. 4
Fig. 4
4. Insert accessory (3) into collet.
NOTE:
a) Make sure the correct collet is used for the
accessory. If collet is too large, replace the collet
with the next smaller size.
b) Insert accessory at least 3/4" into the collet.
5. Press the spindle lock button and engage it
in the spindle. While holding the spindle lock
button down, hand tighten the collet by turning it
clockwise.
NOTE: Do not use pliers to tighten the collet nut. Use
the small wrench (4) supplied. Over tightening will
cause damage to the tool.
6. Pull on the accessory to ensure it is securely in
place.
5
80134
ROTARY TOOL
