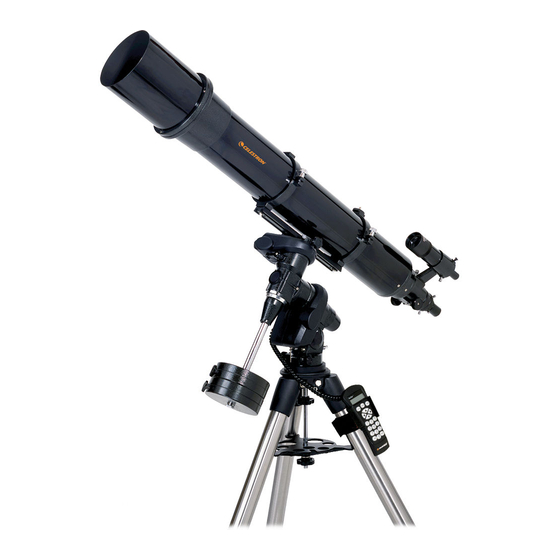
Celestron CPC 925 Panduan Pengguna - Halaman 2
Jelajahi secara online atau unduh pdf Panduan Pengguna untuk Aksesori Celestron CPC 925. Celestron CPC 925 14 halaman. Nexstar hand control
Juga untuk Celestron CPC 925: Panduan Protokol Komunikasi (8 halaman)

Lift (two-person lift is strongly recommended) the
telescope from its storage box and place the telescope
base on the tripod top. Maintain a very firm grip on the
telescope. The tripod positioning pin needs to slip into a
hole in the bottom of the telescope base. You should
feel the telescope "clunk" down about 1cm when
properly centered on the pin. Maintain a firm hold on
the telescope side handle (the telescope is still at risk of
falling to the ground). Slowly rotate the telescope base
on the tripod top until you feel another "clunk" as the
telescope base matches the location of the three
mounting bolts that are on the under-side of the tripod head. Screw the three bolts into the
telescope base. The telescope is now attached to the tripod and no longer at risk of falling.
Attaching components to the telescope
Attach the hand controller and 12v
battery power cable.
On the left-side "shoulder" of the
telescope there is a large three-spoked
circular knob moulded into the telescope
fork arm. This is the declination
(up/down movement) knob. It
locks/unlocks the free movement of the
optical tube in the up/down range of
motion. Unscrew the knob and tilt the
optical tube to aim the from corrector plate
lens toward the sky. Retighten the knob.
In the center of the telescope base is a similar
knob (right ascension locking knob) that allows
the telescope to be rotated. If you wish, you
can unscrew this knob and turn the telescope
to face a different direction – and then
retighten the knob.
(Once you have completed the star alignment
procedure (explained below), do not unscrew
either of these knobs to move the telescope to
point in a different direction. If you do so, you
will mess up the star alignment and the
telescope will no longer be able to find the
objects you ask it to point to.)
Attach the finderscope, visual back and star diagonal
The finderscope is held in a quick-release bracket. Slide this bracket onto the finderscope mounting
bracket on the top of the telescope. Tighten the two bracket attachment screws.
2
