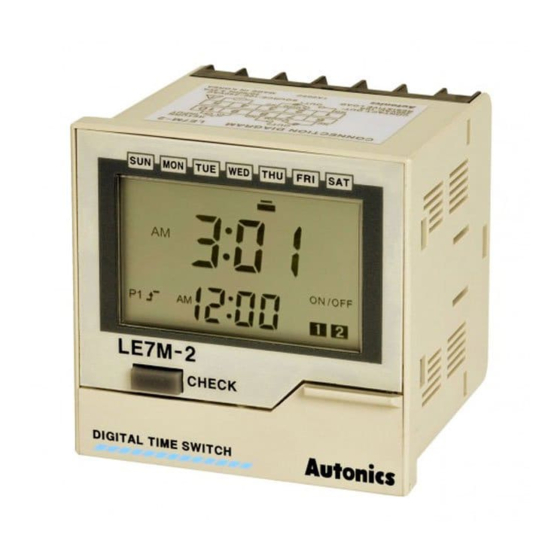
Autonics LE7M-2 Manual - Halaman 3
Jelajahi secara online atau unduh pdf Manual untuk Pengatur waktu Autonics LE7M-2. Autonics LE7M-2 13 halaman. W72xh72mm lcd week/year digital timers
Juga untuk Autonics LE7M-2: Manual (13 halaman), Manual (13 halaman), Panduan Produk (5 halaman)

Dimensions & Mounting
1) Front panel mounting
86
72
2) Surface mounting
64
55
3) DIN rail mounting
64
How to switch from the flush mounting to surface mounting type
Remove terminals from the body after unscrewing terminal screws, and then assemble terminals to the body after rotating
terminals as shown below.
① Unscrew 4 bolts from terminal block.
(Front panel mounting)
(Surface mounting)
7
60
67
13.5
Panel
76.5
9.5
DIN rail
Base plate
② Detach terminal block from case and then rotate it 180 degree.
③ Assemble terminal block to case by using the 4 bolts.
Weekly/Yearly Timer
● Panel cut-out
Min. 91
68
+0.7
0
● Panel hole cut-out
4-M3 TAP
55
● Base Plate
9
67.6
(unit: mm)
(A)
Photo
electric
sensor
(B)
Fiber
optic
sensor
(C)
Door/Area
sensor
(D)
Proximity
sensor
(E)
Pressure
sensor
(F)
Rotary
encoder
(G)
Connector/
Socket
(H)
Temp.
controller
(I)
SSR/
Power
controller
(J)
Counter
(K)
Timer
(L)
Panel
meter
(M)
Tacho/
Speed/ Pulse
meter
(N)
Display
unit
(O)
Sensor
controller
(P)
Switching
mode power
supply
(Q)
Stepper
motor&
Driver&Controller
(R)
Graphic/
Logic
panel
(S)
Field
network
device
(T)
Software
(U)
Other
K-77
