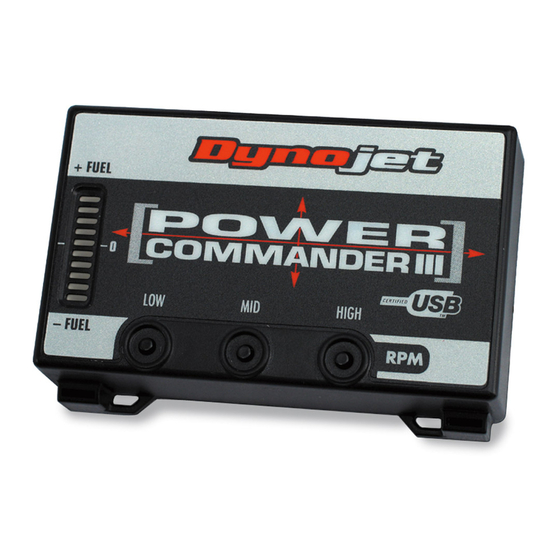
Dynojet Power Commander III Petunjuk Instalasi - Halaman 2
Jelajahi secara online atau unduh pdf Petunjuk Instalasi untuk Aksesori Sepeda Motor Dynojet Power Commander III. Dynojet Power Commander III 4 halaman. Fuel adjustment
Juga untuk Dynojet Power Commander III: Petunjuk Instalasi (4 halaman), Petunjuk Instalasi (3 halaman), Petunjuk Instalasi (4 halaman), Petunjuk Instalasi (5 halaman), Petunjuk Instalasi (5 halaman), Petunjuk Instalasi (3 halaman), Petunjuk Instalasi (3 halaman), Petunjuk Instalasi (3 halaman), Petunjuk Instalasi (3 halaman), Petunjuk Instalasi (5 halaman), Petunjuk Instalasi (3 halaman), Petunjuk Instalasi (3 halaman), Petunjuk Instalasi (3 halaman), Petunjuk Instalasi (3 halaman), Petunjuk Instalasi (3 halaman), Petunjuk Instalasi (3 halaman), Petunjuk Instalasi (3 halaman), Petunjuk Instalasi (4 halaman), Instruksi Instalasi (5 halaman), Petunjuk Instalasi (4 halaman)

