Dynojet Power Commander III 설치 지침 - 페이지 2

{카테고리_이름} Dynojet Power Commander III에 대한 설치 지침을 온라인으로 검색하거나 PDF를 다운로드하세요. Dynojet Power Commander III 4 페이지. Fuel adjustment
Dynojet Power Commander III에 대해서도 마찬가지입니다: 설치 지침 (4 페이지), 설치 지침 (3 페이지), 설치 지침 (4 페이지), 설치 지침 (5 페이지), 설치 지침 (5 페이지), 설치 지침 (3 페이지), 설치 지침 (3 페이지), 설치 지침 (3 페이지), 설치 지침 (3 페이지), 설치 지침 (5 페이지), 설치 지침 (3 페이지), 설치 지침 (3 페이지), 설치 지침 (3 페이지), 설치 지침 (3 페이지), 설치 지침 (3 페이지), 설치 지침 (3 페이지), 설치 지침 (3 페이지), 설치 지침 (4 페이지), 설치 지침 (5 페이지), 설치 지침 (4 페이지)
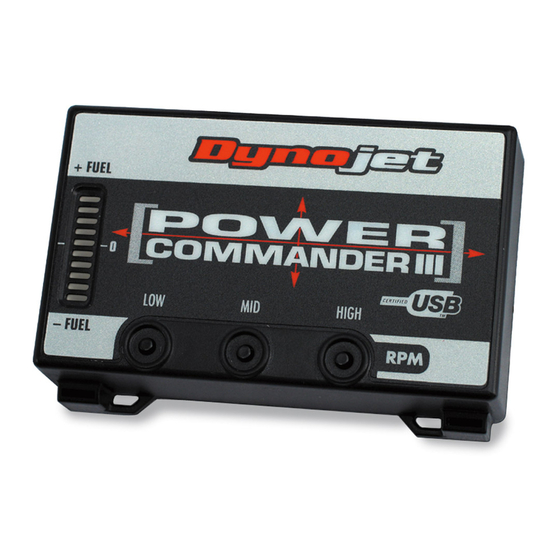
Dynojet Power Commander III 설치 지침
Unplug this connector
i303-411
www.powercommander.com
PCIII wiring harness
1
Remove the main seat and the passen-
ger seat or solo cover.
2
Prop the fuel tank up using the prop
rod in the tail section.
3
Lay the PCIII in the tail section.
4
Route the wiring harness from the
PCIII under the tail section and go
towards the battery.
5
Route the PCIII harness under the fuel
tank bracket and to the left side of the
rear cylinder (Fig. B).
6
Locate the 6 pin clear connector to the
left rear of the air box (Fig. C).
Unplug this connector.
1998-2003 Suzuki TLR1000 - PCIII USB - 2