Dynojet power commander III Panduan Instalasi - Halaman 2

Jelajahi secara online atau unduh pdf Panduan Instalasi untuk Aksesori Mobil Dynojet power commander III. Dynojet power commander III 3 halaman. 2004 kawasaki zx12r
Juga untuk Dynojet power commander III: Petunjuk Instalasi (5 halaman), Petunjuk Instalasi (5 halaman), Petunjuk Instalasi (4 halaman), Panduan Instalasi (3 halaman), Petunjuk Instalasi (4 halaman), Panduan Petunjuk Instalasi (3 halaman), Petunjuk Pemasangan (3 halaman), Petunjuk Instalasi (3 halaman), Petunjuk Pemasangan (3 halaman)
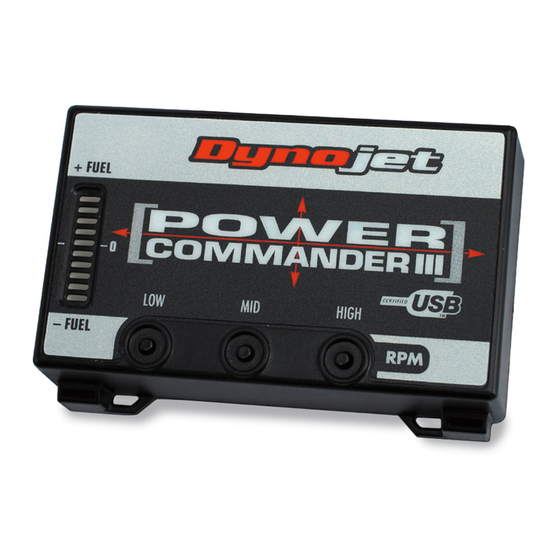
Dynojet power commander III Panduan Instalasi
PCIII harness
Unplug
i426-411
www.powercommander.com
Fuel tank bracket
Stock connectors
PCIII connectors
1
Remove the main seat.
2
Lift the front of the fuel tank up and
use something to keep it propped up.
3
Route the PCIII harness down the
right
hand side of the bike.
PCIII harness underneath the fuel tank
bracket (Fig. A).
the fuel tank bracket on will need to
be loosened to allow room for the
PCIII harness to fit underneath.
Tighten these bolts after the installa-
tion is complete.
4
Unplug the connector from the throt-
tle bodies to the main wiring harness
(Fig. B).
This is the 12 pin GREY
connector.
5
Plug the PCIII connectors in-line of
the stock connector (Fig. C).
sure these connectors are postioned as
to not interfere with the fuel line
when the fuel tank is installed back
into position.
2007 Yamaha YZF R1- PCIII USB - 2
Route the
The bolts that hold
Make