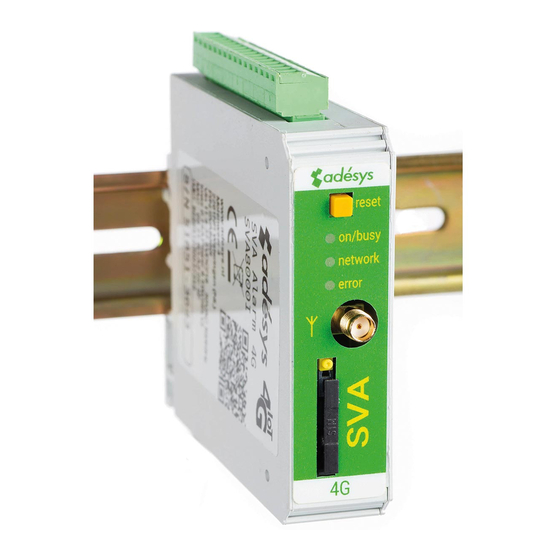
Adesys SVA Manual - Halaman 7
Jelajahi secara online atau unduh pdf Manual untuk Modem Adesys SVA. Adesys SVA 13 halaman.

Adesys B.V. | Wateringen
2.8.
2G/4G connection
To use the SVA with a 2G/4G connection, a SIM card with Internet subscription should be installed in the
SVA. It is important that the correct APN, APN user and APN password are entered, otherwise the SVA will
not be able to connect. This can be entered in SV-prog in the 2G/4G window.
Network locking is possible. By entering a 2 or 4 in the GSM menu at the provider lock, it is possible to lock
the detector to 2G or 4G.
The SVA does not provide a notification if something goes wrong with the APN. For more information
about the APN, please contact your provider.
2.9.
Inputs and outputs
It is possible to connect several variants of inputs and outputs to the SVA, such as contact inputs , voltage
inputs DC or a relay output. When connecting different inputs it is important to look carefully at the wiring
diagram. This can be found on the side of the SVA.
3.
SV-prog
3.1.
Installation
Setting up the SVA can be done in two ways, the fully adjustable way of the SV-prog tool and a limited
adjustable way via Remote Setup. For Remote Setup, section "3.5.1. Checkmyproces.com" can be
consulted.
SV-prog is used to set up the SV series. This program can be downloaded free of charge from the Adésys
website (www.adesys.nl/en/service/downloads). All settings will be stored in the internal flash memory. It
is not possible to store the settings on the SIM card!
SV-prog must be installed on your PC before it can be used. Follow the instructions displayed on your
screen during the installation process. As soon as the installation process is complete, start the program
via the shortcut or via the program menu in MS Windows.
Connect the SVA to a power source and connect the SVA to the PC using the Ethernet cable set supplied.
The SVA can be connected to the local network or directly to the PC.
As soon as the SVA has been switched on, the tool will display this in the overview after a few seconds
and the SVA can be configured by clicking it. When search diallers is pressed, SV-prog shows all accessible
diallers.
When SV-prog is not showing any diallers or when the error message 'No ethernet cable' is shown. There
is a possibility the wrong network adapter is chosen. By opening SV-prog and opening the configuration
on the top left side it is possible to adjust the network adapter.
Terms used
The terms you will encounter in SV-prog are explained below.
3.2.
Status screen
The status screen provides you with information on the SVA. Examples of this information are the IMEI
code, the serial number, the MAC address and the current status of the inputs and alarms/errors.
3.3.
Call list
A call list is a group of contacts (SMS or Email) that can be coupled to the input to send an alarm message
or alarm recovery message. One to eight contacts can be programmed into a call list
3.4.
I/O
Inputs are displayed in this window. All inputs can be set up separately from one another. Settings can
also be established here for Mains Power Failure and System Errors.
One call list can be set up for each input. As soon as an input becomes active, the notification procedure
starts. The associated alarm message is sent to all set telephone numbers one after the other. This is
explained further in the Notification Procedure section.
Manual SVA alarm dialler | Back to
Index
Page 7
