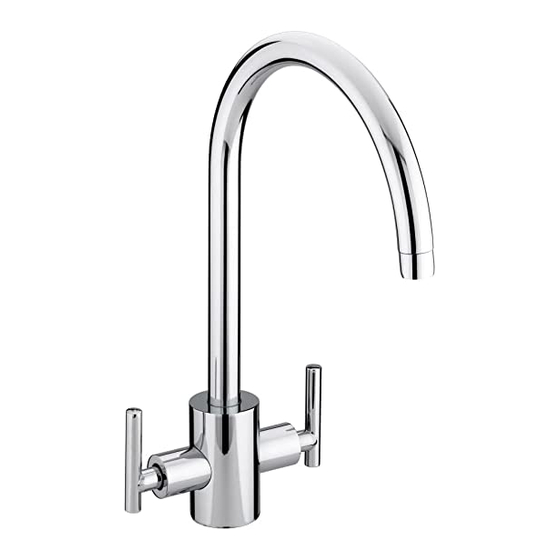
Bristan Artisan Petunjuk Pemasangan & Panduan Pengguna - Halaman 6
Jelajahi secara online atau unduh pdf Petunjuk Pemasangan & Panduan Pengguna untuk Produk Pipa Bristan Artisan. Bristan Artisan 9 halaman. Sink mixer
Juga untuk Bristan Artisan: Petunjuk Pemasangan (2 halaman)

Installation
Installation
Installation
Installation
Important: If the fitting is installed at low pressure (tank fed), then the minimum distance from
Important:
Important:
Important:
the underside of the water outlet to the cold water tank should be at least 5 metres to ensure
adequate performance.
This mixer should be installed in compliance with Water Regulations. For further details please
contact your local Water Authority.
1.
Identify all components are present prior to starting installation.
2.
Install the mixer body (3) to the sink.
3.
Screw the fixing rod (6) into the bottom of the mixer body (3).
4.
Slide the fixings (7) onto the threaded rod (6) up to the underside of the sink.
5.
To secure the mixer in place tighten the fixing nut included in the fixing kit.
6.
Screw in the flexible connecting pipes (5) by hand only (DO NOT OVERTIGHTEN).
7.
Connect the hot and cold water supplies to the flexible connecting pipes (5).
8.
Turn on both water supplies, and operate the handles in both directions letting the water
flow for a few minutes to check all joints and connections for any leaks.
flow for a few minutes to check all joints and connections for any leaks.
1.
Arm
2.
Spout
3.
Body
4.
Handles
5.
Flexible Connecting Pipes
6.
Threaded Rod
7.
Fixing Kit
hand only (DO NOT OVERTIGHTEN).
hand only (DO NOT OVERTIGHTEN).
hand only (DO NOT OVERTIGHTEN).
x1
x1
x1
x2
x2
x1
x1
05
