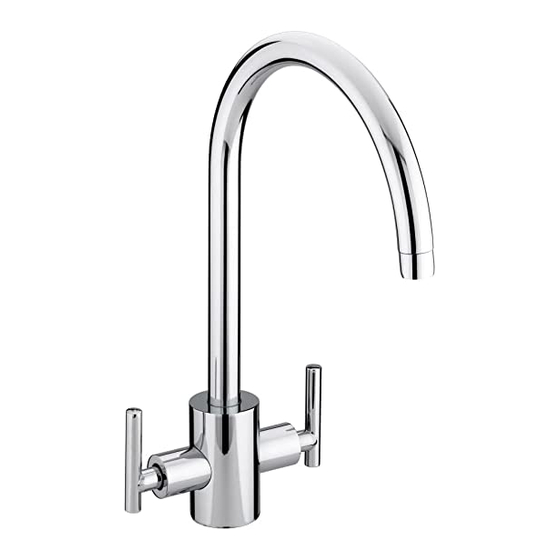
Bristan Artisan Petunjuk Pemasangan & Panduan Pengguna - Halaman 7
Jelajahi secara online atau unduh pdf Petunjuk Pemasangan & Panduan Pengguna untuk Produk Pipa Bristan Artisan. Bristan Artisan 9 halaman. Sink mixer
Juga untuk Bristan Artisan: Petunjuk Pemasangan (2 halaman)

Maintenance
Maintenance
Maintenance
Maintenance
General Cleaning
General Cleaning
General Cleaning
General Cleaning
Your fitting has a high quality finish and
should be treated with care to preserve the
visible surfaces. All finishes will wear if not
cleaned correctly. The only safe way to clean
your product is to wipe with a soft damp
cloth. Stains can be removed using washing
up liquid. All bathroom cleaning products
(powders and liquids) will damage the
surface of your fitting, even the non – scratch
cleaners.
Note: Never use abrasive detergents or
Note:
Note:
Note:
disinfectants or those containing alcohol,
hydrochloric acid or phosphoric acid.
Bristan recommend E-cloth for
cleaning all of our bathroom &
kitchen products. Using just
water , E-cloth gives a smear
free, deep clean by breaking up
free, deep clean by breaking up
and holding dirt, which normal cloths leave
and holding dirt, which normal cloths leave
behind. Order through your Bristan stockist
(order code: ECLOTH).
Maintenance
Maintenance
Maintenance
Maintenance
We advise that your fitting is regularly
serviced in hard water areas to maintain
optimum performance.
If your fitting begins to leak the following
should be carried out.
Isolate both hot and cold water supplies to
the mixer valve by either:
• Turning the water supply off at the mains
stopcock or
• Turning off the isolation valves to the mixer
valve.
1. Unscrew the grub screw (1) on the
underside of the handle (2).
06
2. Pull the handle off to reveal the valve (3).
3. Unscrew the valve carefully clean the valve
and valve seating
4. If necessary replace the valve
5. Fit the valve back into the tap body and
tighten fully using a suitable spanner
6. Push the handle back onto the valve spindle
and replace the grub screw (1) and tighten on
the underside of the handle (2).
If the problem persists please contact our
customer services helpline quoting the
product code.
