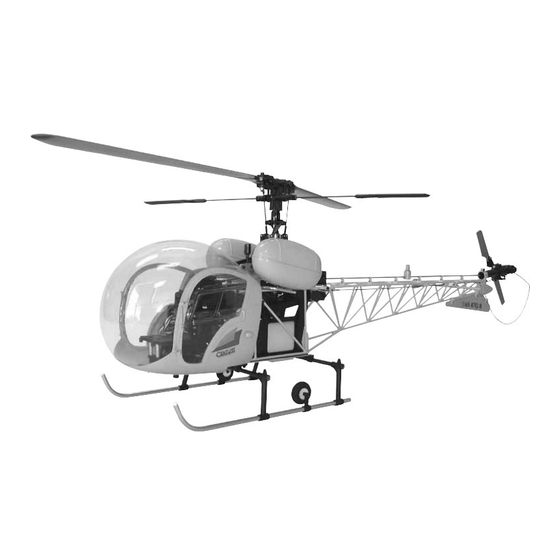
Century Helicopter Products Bell 47G II ARF Helicopter Manual - Halaman 8
Jelajahi secara online atau unduh pdf Manual untuk Mainan Century Helicopter Products Bell 47G II ARF Helicopter. Century Helicopter Products Bell 47G II ARF Helicopter 15 halaman.

STEP 7 Door Hardware & Mounting
STEP 7 Door Hardware & Mounting
STEP 7 Door Hardware & Mounting
STEP 7 Door Hardware & Mounting
STEP 7 Door Hardware & Mounting
Attach the pivot lock that will hold the hinge wires in place using one M1.4x8 Round Head Phillips Screw
inserted from the short (the pivot lock has a long side and a short side) standoff side, through the door and
secured with one M1.4 Hex Nut. Leave loose enough to rotate the lock by hand. Position the right door
resting on top of the right side cabin hinges (right side hinge order #1234) and insert two brass hinge pins
from inside out. Using pliers hold the hinge wire 2-3mm from the end and bend 90° degrees. Position the
pivot lock vertically to trim the hinge wires. Insert the straight end of the wire into the upper hinge pin and
trim the straight end until the length of the wire will fit fully seated in the hinge pin and into the pivot lock.
Right Side Door
Hinge Order #1234
Press the door handle through the door and press one 2mm brass washer flat against the inside of the door, apply a
drop of epoxy and let dry. Repeat for other door. Close the door and position one magnet at each corner of the
inside cabin opening, the magnet will self-align, matching itself to the magnet that is already embedded in the door
at the time of manufacture. Remove one magnet at a time and epoxy in place, encasing the magnet completely.
Repeat for the other door and let dry. Check that when the doors are closed that the top and bottom of the doors
match the contour of the cabin, if there is a gap between the two parts, heat the door with a heat gun until the
surface is hot to the touch and tape flush to the cabin. Repeat if necessary.
Now slightly trim the bent end of the hinge wire so that when inserted
in the pivot lock the end of the wire does not touch the door, but be
careful, make sure there is a minimum of 1mm of wire that extends
#1
past the edge of the pivot lock. Repeat for the left door.
#2
Remove the pivot lock and the hinge pins from the door. Using
Hinge
epoxy or JB Weld permanently bond the straight end of the hinge
Pin x 4
wire into the brass hinge pin. To improve the bond strength, using
the edge of a needle file, make a few straight scores into the last
Pivot
2mm of the straight end, no more that 20% deep. Repeat for the
Lock x 2
four wires. To permanently attach the bent end to the pivot lock,
insert the wire and mark the amount of wire that is exposed on the
Hinge
bottom of the pivot lock. Remove and make two similar scores on
Wire x 4
both sides near the end of the wire. Cut a small 1/4" square piece of
plastic wrap and press over the end of the wire, using epoxy or JB
#3
Weld, form a fillet drop of adhesive against the plastic. Once cured,
#4
cut a slit in the plastic and carefully split apart and remove. Install
both doors. To reduce the stress on the hinge wires, redrill the hinges to
2.1-2.2mm and rely on the tension of the M1.4x8 Screw at the center of
the pivot lock to keep the hinge pins in place.
Once the handles,
hinges and doors are
completed, a little
painting along the seam
will hide the mold seam
nicely.
Door Handle x 2
M2 Brass Washer x 2
[CN1074-5]
Bell47G II Detail Manual
Bell47G II Detail Manual
Bell47G II Detail Manual
Bell47G II Detail Manual
Bell47G II Detail Manual
STEP 8 Door Handles & Magnets
STEP 8 Door Handles & Magnets
STEP 8 Door Handles & Magnets
STEP 8 Door Handles & Magnets
STEP 8 Door Handles & Magnets
Magnets x 4
[CN1074-9]
7
