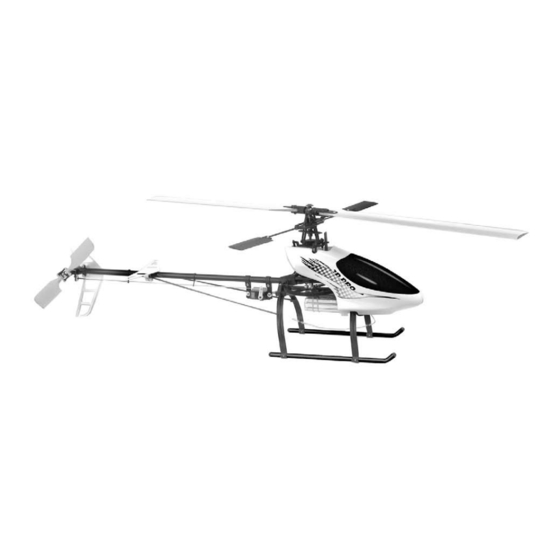
Century Helicopter Products Hummingbird Elite 3D Pro Buku Petunjuk - Halaman 2
Jelajahi secara online atau unduh pdf Buku Petunjuk untuk Mainan Century Helicopter Products Hummingbird Elite 3D Pro. Century Helicopter Products Hummingbird Elite 3D Pro 10 halaman.
Juga untuk Century Helicopter Products Hummingbird Elite 3D Pro: Manual Perakitan dan Instruksi (12 halaman)

Introduction
Introduction
Congratulations on the purchase of Century Helicopter Product's Humming-
bird Elite series helicopter. The Hummingbird Elite is not only ideal for begin-
ners new to the hobby, but also for the intermediate to expert pilot looking for
the ultimate in micro electric helicopter performance. The 3D Pro requires
a 6+ channel computer radio that supports 120 degree eCCPM operation.
Please check with your favorite retailer or manufacturer to verify compatibility
of your radio system of choice.
Warning!
This radio controlled model is not a toy! It is a precision machine requiring proper assembly and setup to avoid acci-
dents. It is the responsibility of the owner to operate this product in a safe manner as it can inflict serious injury.
The helicopter is made pre-assembled and will require inspection for construction before your first flight.
As the manufacturer, we assume no liability for the use of this product.
RULES OF R/C
-Always turn your transmitter on before powering
the model.
-Always turn off the model by disconnecting
the helicopter battery prior to turning off the
transmitter.
-Always start the helicopter with throttle in the low
position.
-Always perform a pre-flight inspection for safe
operation.
These rules will help prevent unsafe operation.
Attention!
If you purchased your Hummingbird Elite 3D Pro with the Lightning Brushless Motor the motor bolts will not be mounted.
See below for details.
If you are using a motor other than the Lightning Brushless DO NOT ALLOW MAIN BLADES TO EXCEED 3000 RPM.
The mounting of an aftermarket motor may be slightly different.
HUMMINGBIRD 3D PRO MOTOR TIGHTENING PROCEDURE
Motor is not mounted on
the 3D Pro. Install the
motor as shown. Align the
mesh between the main
motor pinion and the main
gear. Note the position of
the pinion gear and main
gear then use those loca-
tions to tighten the screws.
Once tightened the motor
should not move from that
position.
2
Thank You For Choosing The Hummingbird Elite
3D Pro Helicopter From Century!
Using the two included silver alumi-
num motor standoffs (pictured). align
the motor for best possible gear mesh.
Required Items
Items needed to fly the Hummingbird
1x Radio (6 channels)
1x Receiver (6 channels)
4x Micro servos
1x Micro gyro
1x Brushless motor (4100 RPM/Volt)
1x Brushless speed controller
1x Battery (11.1V Li-Poly or Li-Ion)
1x Charger (Li-Poly or Li-Ion type)
Table of Contents
Table of Contents & Introduction ......................................... 2
Required Items and Building Guide for Assembly ............. 2
Getting started ....................................................................... 3
Connections for electronics ................................................. 3
Testing the electronics .......................................................... 4
Servo basics .......................................................................... 4
Servo/pushrod Setup ............................................................ 5
Collective Pitch Setup ........................................................... 6
Tail rotor setup ....................................................................... 6
Blade Tracking, Questions and answers Section .............. 7
Your first Flight ...................................................................... 8
Exploded view diagram / warranty information .................. 9
Replacement Parts and Options ........................................ 10
Using a phillips head screwdriver fully
tighten the motor bolts in place where the
gear mesh is best.
