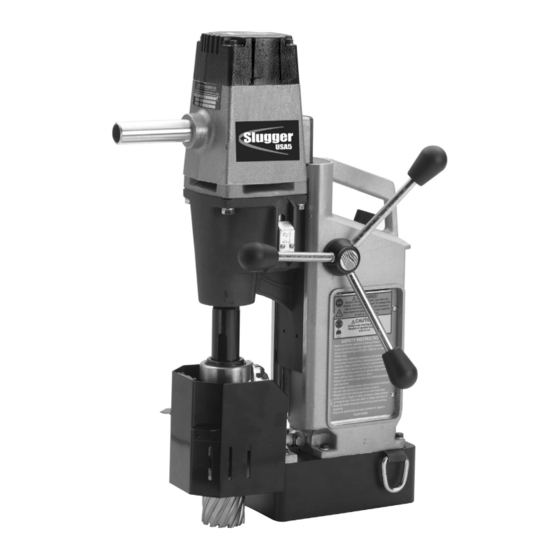
Jancy Engineering Slugger USA5 Panduan Operator - Halaman 8
Jelajahi secara online atau unduh pdf Panduan Operator untuk Bor Jancy Engineering Slugger USA5. Jancy Engineering Slugger USA5 16 halaman.

- 1. Table of Contents
- 2. Important Safety Instructions
- 3. Special Instructions
- 4. Extension Cords
- 5. Grounding Instructions, Extension Cords, Guideline for Shift Lever Position
- 6. Contents of Package
- 7. Getting Started, before You Drill
- 8. Before the Cut, Ready to Cut, after the Cut
- 9. Basic Troubleshooting
- 10. Regular Maintenance
- 11. Control Panel and Parts List
- 12. Machine and Arbor Breakdown
- 13. Machine and Arbor Parts Lists
- 14. Motor Breakdown and Parts List
- 15. Dimensions and Specifications
1. Select correct pilot pin and place in cutter shank from the rear. Align flats on cutter shank with arbor body set screws.
Insert cutter in arbor body.
2. Tighten set screws securely on cutter shank flats. NOTE: Set screws should be recessed in arbor body when tight.
3. The surface you are working on should be clean, flat and free from rust, scale, dirt and chips.
4. Determine correct cutting speed for application. Move gear box shift lever by lifting outward then repositioning to
desired speed.
never change gears with motor running
5. Place Slugger® machine on workpiece with pilot pin over the center of hole to be drilled.
6. Connect machine to power source.
7. Lower Slugger® cutter to surface of material to be cut. Coolant will be released down the pilot into center of
Slugger® cutter. Coolant flow can be stopped by lifting pilot pin off work surface or by using coolant valve. NOTE:
Be sure coolant valve is open. Regulate coolant flow by adjusting coolant valve on left side of mainframe.
8. The safety strap must be securely fastened to machine and around work being drilled. Loop strap around work piece
and connect strap ends by attaching to D-rings on drill. NOTE: Safety strap is intended only to restrain the drill to the
work piece in the event of a power failure to the magnetic base.
9. Position chip guard toward work area before drilling.
1. Move magnet switch to "ON" position. Switch will illuminate to indicate power is present – magnetic base should be
firmly secured to workpiece at this time. Thin materials may require an additional steel plate to achieve proper
magnet adhesion.
2. Start drill motor by depressing green motor "ON" button.
3. Advance cutter into material using the feed handles until Slugger® cutter has established an external groove in the
material. During the remainder of cut apply smooth constant pressure without overloading motor. NOTE: Slugger®
cutters are designed for uninterrupted cutting. Chips are evacuated during the cut. Do not peck drill when using
Slugger® cutters.
if drill motor should stall or stop before a complete cut is made
attempting to restart motor
.
machine and cutter
note
rated from its work surface
1. After Slugger® cutter has finished the cut, the "slug", or uncut center portion of material, will be expelled when
motor is returned to the full up position.
2. Return machine into full upright position and depress red motor "OFF" button, wait until motor completely stops.
3. Move magnet switch to "OFF" position when ready to release magnetic base from work surface.
8
before the cut
.
doing so can result in personal injury and
.
always use safety strap
failure to do so could result in personal injury
/
and
or damage to the
ready to make the cut
position chip guard toward work area before drilling
.
failure to do so could result in personal injury and
:
'
this machine
s circuitry will automatically shut the drill motor off if magnetic base is sepa
.
if your machine requires adjustment
after the cut
CAUTION!
CAUTION!
s
®
lugger
drilling machine
CAUTION!
CAUTION!
,
always remove cutter from hole before
,
contact jancy
/
or damage to the machine
.
.
/
s
or damage to the
lugger
'
s service department
.
®
drilling
-
.
