Gardena AquaContour automatic 8133 Panduan Petunjuk Pengoperasian - Halaman 6
Jelajahi secara online atau unduh pdf Panduan Petunjuk Pengoperasian untuk Peralatan Rumput dan Taman Gardena AquaContour automatic 8133. Gardena AquaContour automatic 8133 12 halaman. Aquacontour automatic.
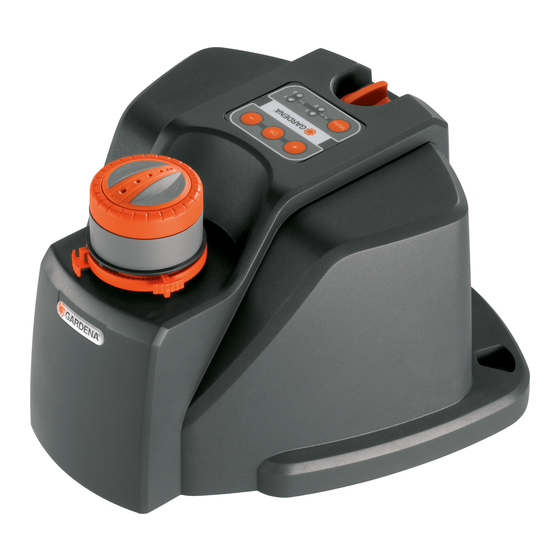
large-area irrigation
Juga untuk Gardena AquaContour automatic 8133: Panduan Petunjuk Pengoperasian (13 halaman)
2
4
1
6
Start / end watering :
2
4
1
6
3
8. Use the two buttons "+" button
the range so that it reaches to the next irrigation point (P2 for
example).
9. Press OK button
The green Auto LED
has been stored.
10. Repeat the process from steps 7 to 9 until the right-hand
sector limit is reached (in the example P10).
11. Press Menu button
The red Set LED
the green Auto LED
5
then flashes every 10 seconds.
12. Release nozzle head
13. If the contour is watered correctly, close the water supply.
Information about programming :
As soon as the first point is programmed, any existing
programme will be deleted. After programming has been
completed, no further points can be deleted or added later on.
If the contour has not been set as required, reprogramming
with more points will have to be carried out. If no button is
pressed for 60 seconds during programming, programming
will be automatically ended and the contour stored.
Before irrigation can be started, the Large-Area Irrigation
AquaContour automatic must have been programmed.
3
1. Fit the Large-Area Irrigation AquaContour automatic onto one
of the two ground markers with the 2 spikes (see 4. Initial
Operation "lnstall ground marker in ground" ) .
2. Select sector stops according to location (see 5. Operation
" Select watering sector " ).
3. Press OK button
The green Auto LED
4. Select programme : Keep pressing Menu button
required green Auto LED
The required programme 1 or 2 has been selected.
5
Start watering :
v Fully open water supply.
Watering will start automatically and the contour of the
selected watering sector will be watered.
End watering :
v Close water supply.
Watering will end. The programme remains unchanged.
2
and "-" button
4
.
6
lights up for 1 second and the point
1
.
5
goes out, programming is complete, and
6
lights up for 1 minute. The Auto LED
0
and check contour area watered.
1
.
6
lights up.
5
(1 or 2) lights up.
3
to set
1
until the
15