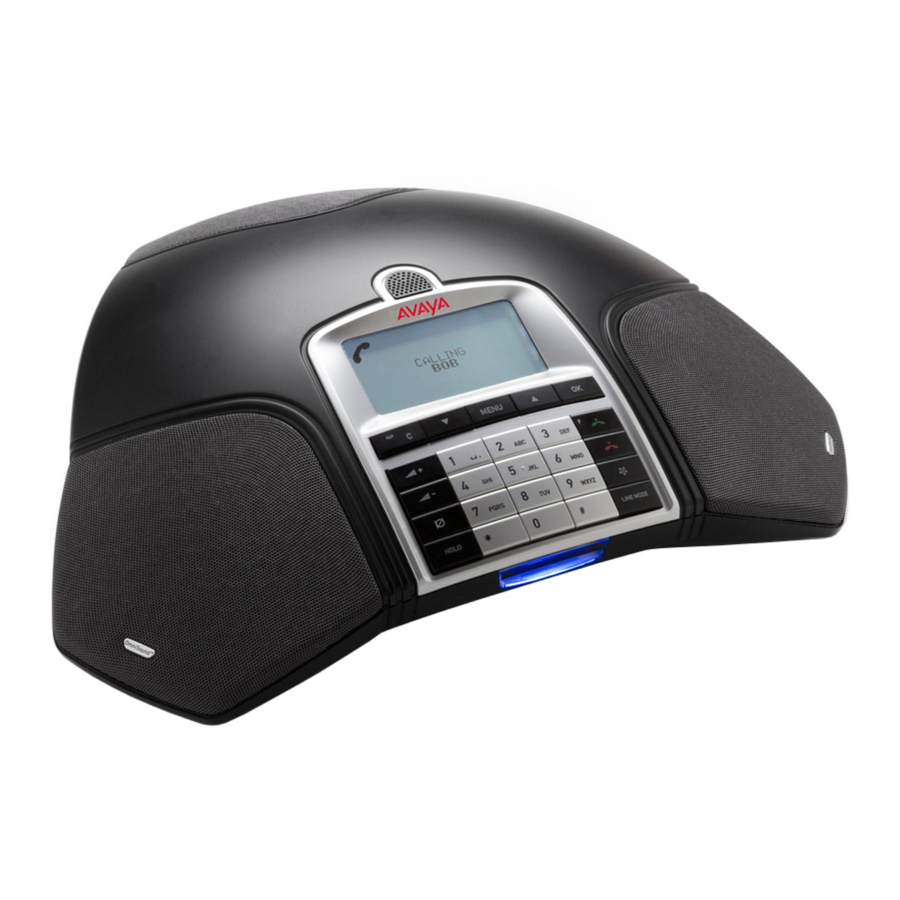
Avaya B179 Panduan Konfigurasi - Halaman 7
Jelajahi secara online atau unduh pdf Panduan Konfigurasi untuk Telepon Avaya B179. Avaya B179 12 halaman. Configuring b100 series phones on ip office
Juga untuk Avaya B179: Panduan Referensi Cepat (4 halaman), Panduan Referensi Cepat (4 halaman), Panduan Pengaturan Cepat (4 halaman), Panduan Konfigurasi (2 halaman)

Select the SIP tab. Figure 7 shows the configuration used in this test.
Account 1:
-
Enable account: Yes
-
Account Name: Use a meaningful name.
-
User: Enter the extension assigned in Session Manager, in this case 36052.
-
Realm: * (the default)
-
Authentication Name and Password: Enter the extension and password assigned in
Session Manager.
-
Registrar and Proxy: Enter the IP Address for Session Manager, in this case
10.1.2.210.
-
Registration interval: Use the default 300
Tranport:
-
Protocol: TCP
-
Local Port: 5060
The rest of the configuration was left at default values. When complete, click Save. This will
cause the phone to reboot.
JPA; Reviewed:
SPOC 07/08/2011
Figure 7: SIP Settings Screen
Solution & Interoperability Test Lab Application Notes
©2011 Avaya Inc. All Rights Reserved.
7 of 12
B179SIPCMSM
