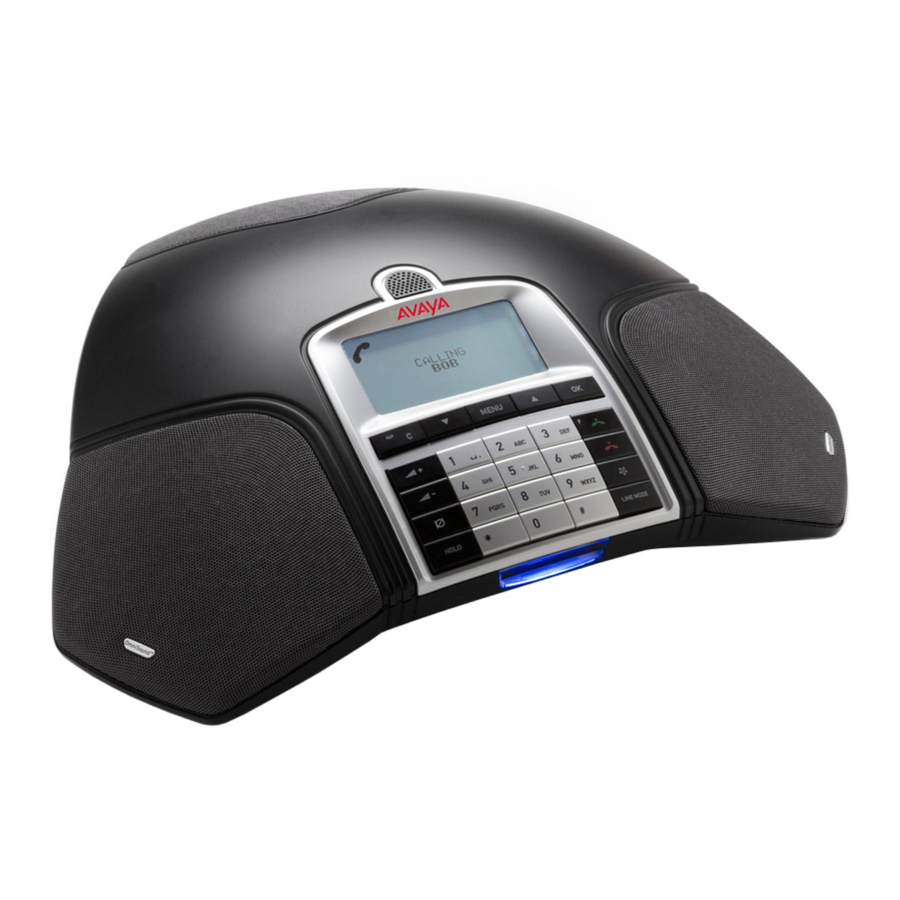
Avaya B179 Panduan Konfigurasi - Halaman 8
Jelajahi secara online atau unduh pdf Panduan Konfigurasi untuk Telepon Avaya B179. Avaya B179 12 halaman. Configuring b100 series phones on ip office
Juga untuk Avaya B179: Panduan Referensi Cepat (4 halaman), Panduan Referensi Cepat (4 halaman), Panduan Pengaturan Cepat (4 halaman), Panduan Konfigurasi (2 halaman)

4. Configuration of the Avaya Aura® Session Manager
This section shows the Session Manager screens used to configure an endpoint with extension
36052, for the B179 SIP Conference Phone. For additional information on configuring Session
Manager, see reference [3].
Login to System Manager and select User Management Manage Users. A list of users will
appear. Click New to create a new endpoint. The Identity and Comunication Profile tabs need to
be configured for a new user.
Figure 8 shows the Identity configuration used. Enter a meaningful Name for the user, as well
as a meaningful Localized and Endpoint Display Name. For Login Name enter the extension
and domain that the endpoint will use to register to Session Manager. Enter a password for the
user. Note that this password is not the password the endpoint will use to register to Session
Manager.
Figure 9 shows the Communication Profile configuration used.
Communication Profile:
-
Communication Profile Password: Enter the password the endpoint will use to
register to Session Manager
-
Confirm Password: Re-enter the same password.
JPA; Reviewed:
SPOC 07/08/2011
Figure 8: User Profile Identity
Solution & Interoperability Test Lab Application Notes
©2011 Avaya Inc. All Rights Reserved.
8 of 12
B179SIPCMSM
