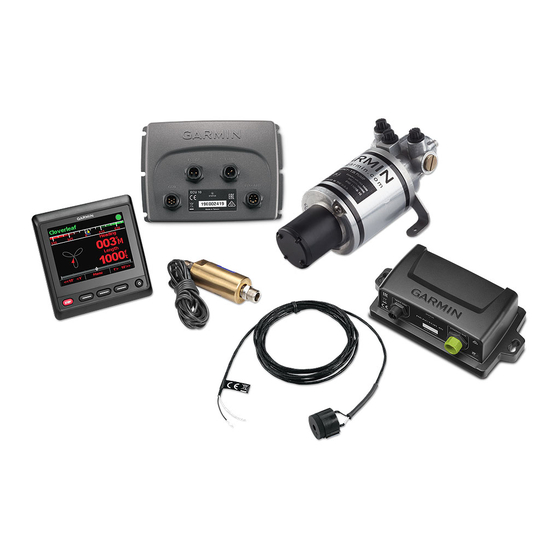
Garmin Reactor 40 Panduan Konfigurasi - Halaman 6
Jelajahi secara online atau unduh pdf Panduan Konfigurasi untuk Peralatan Kelautan Garmin Reactor 40. Garmin Reactor 40 8 halaman. Mechanical
Juga untuk Garmin Reactor 40: Panduan Petunjuk Instalasi (11 halaman), Panduan Petunjuk Instalasi (13 halaman), Panduan Petunjuk Instalasi (29 halaman), Panduan Petunjuk Instalasi (25 halaman)

Adjusting the Autopilot Gain Settings
The autopilot gain settings are set during the Autotune procedure. Adjusting these values is not recommended,
and you should record the values set by the Autotune procedure before making any changes.
1 On a helm control or the autopilot screen on a chartplotter, select
Installation Setup > Autopilot Tuning > Rudder Gains.
2 Select an option based on the type of boat:
• If you have a planing-hull powerboat with the speed source set to Tach. - N2K or Proprietary, Tachometer,
or GPS, select Low Speed or High Speed and adjust how tightly the rudder holds the heading and makes
turns at low speed or high speed.
If you set this value too high, the autopilot may be overactive and attempt to constantly adjust the heading
at the slightest deviation. An overactive autopilot can drain the battery at a faster-than-normal rate.
• If you have a planing-hull powerboat with the speed source set to Tach. - N2K or Proprietary, Tachometer,
or GPS, select Low Spd. Cntr. or High Speed Counter to adjust how tightly the rudder corrects the turn
overshoot.
If you set this value too low, the autopilot can overshoot the turn again when it attempts to counter the
original turn.
3 Test the autopilot configuration, and repeat step 2 until the autopilot performance is satisfactory.
Advanced Configuration Settings
You can calibrate the compass, run the autotune procedure, and set north on the autopilot without running the
wizards. You can also manually define each setting individually, in order to make slight adjustments, without
running the full configuration or calibration processes.
Manually Running the Automated Configuration Processes
1 On a helm control or the autopilot screen on a chartplotter, select
Installation Setup.
2 Select an automated process:
• To start the compass calibration procedures, select Compass Setup > Compass Cal.
Compass,
page 3).
• To start the automatic autopilot tuning procedures, select Autopilot Tuning > Autotune
Autotune Procedure,
• To start the procedures to define north, select Compass Setup > Set North
3 Follow the on-screen instructions.
Manually Defining Individual Configuration Settings
Configuring certain configuration settings may require you to modify other settings. Review the detailed
configuration settings section prior to modifying any settings
1 On a helm control or the autopilot screen on a chartplotter, select
Installation Setup.
2 Select a setting category.
3 Select a setting to configure.
Descriptions of each setting are available in this manual
4 Configure the value of the setting.
6
page 4).
> Autopilot Setup > Autopilot
> Autopilot Setup > Autopilot
(Setting North,
(Detailed Configuration Settings,
> Autopilot Setup > Autopilot
(Detailed Configuration Settings,
(Calibrating the
(Performing the
page 4).
page 7).
page 7).
