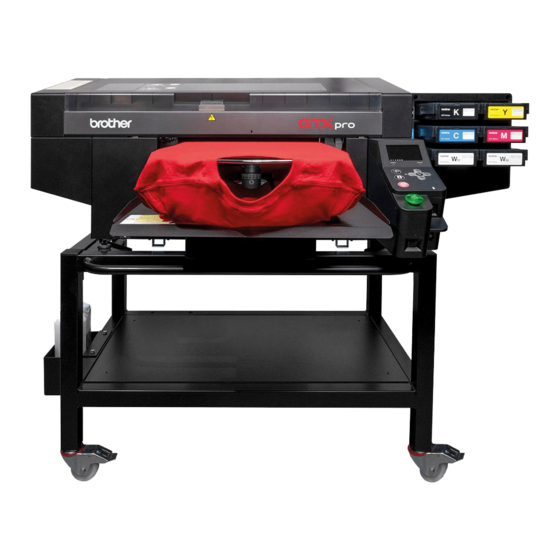
Brother GTX pro Panduan Pengguna Cepat - Halaman 12
Jelajahi secara online atau unduh pdf Panduan Pengguna Cepat untuk Printer Brother GTX pro. Brother GTX pro 15 halaman. Garment printer
Juga untuk Brother GTX pro: Panduan Referensi (13 halaman), Panduan Pengguna (16 halaman), Setup Manual (40 halaman)

ADDITIONAL WEEKLY MAINTENANCE
Visual inspection is important to keep your printer
up and running. Inspect all the moving parts of the
machine and also check for leakage of ink.
Also, please follow all the instructions which may
appear on the display of the printer.
When you see a yellow number, push the right
arrow key to know what you have to do to clear the
Error/Warning message.
INTERNAL CLEANING OF THE PRINTER
If the inside of your printer is covered with INK MIST, perform a thorough CLEANING.
> Always use this menu to perform cleanings or replace parts:
Menu
12
• Enter Maintenance mode on the machine display panel to move
the carriage to the right and have access to all components needing
inspection and cleaning.
• With the Clean Stick R dipped in Cleaning Solution, wipe away
the stains on the 4 Carriage Rollers
[There is 1 more Roller hidden just below the Roller 1]
• Move the carriage from side to side to wipe all around the 4 rollers
completely.
• Clean the Carriage Guide Shaft and the 3 sides
of the Roller Guide with a lint free cloth moistened with a
lower]
small amount of Isopropyl Alcohol [95°]
• Do not use alcohol on parts other than the carriage guide shaft and
the roller guide.
• After cleaning the Carriage Guide Shaft with alcohol, immediately
apply a proper amount of Molykote 30 Grease onto the Carriage
Guide Shaft only
• Remove 3 screws to take out the encoder metal cover. With your
lint free cloth moistened with Alcohol, carefully clean both sides
of the Encoder Strip.
• Perform a CR Speed Adjustment.
Menu > Printer Setting > CR Speed Adjustment > OK
• Print out a Nozzle Check pattern and do a Nozzle Cleaning if
necessary.
Maintenance
[never on the Roller Guide].
Maintenance Part Clean/Replace
[upper, front, and
