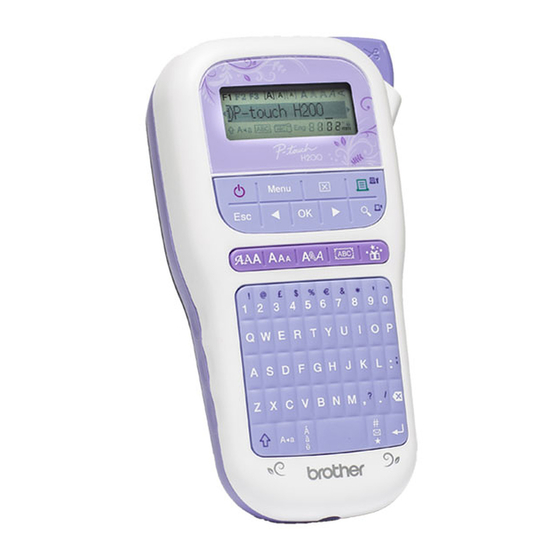
Brother P-Touch PT-H200 Panduan Pengguna - Halaman 12
Jelajahi secara online atau unduh pdf Panduan Pengguna untuk Pembuat label Brother P-Touch PT-H200. Brother P-Touch PT-H200 19 halaman. Electronic labeling system

Symbol Key
Entering Symbols
/
/
/
Select a symbol
• See the table of symbols included in this guide.
• To cancel an operation, press
• *1 When you select symbols, up to seven
recently used symbols are added to History.
• If you selected History, you cannot select a
category.
• You can also select from the basic and
pictograph categories by pressing the shortcut
keys listed in this guide.
Basic
Space
Punctuation
key
Mathematics
Brackets
Arrows
Pictograph
Space
Emojis
key
Music
Clothes
Travel
Sports
Animals
Decorative
Astrology
Holiday
*1
[History
/Basic/Pictograph]
Select category
.
Units
Fractions
Roman
Numerals
Shapes
Events
Kitchen
Food & Bev
Crafts
Baby
School
Home Office
Audio Visual
5
OTHER
Specifications
Dimensions:
Approx. 109(W) mm X 202(D) mm X
(W x D x H)
55(H) mm
Weight:
Approx. 400 g
(without batteries and tape cassette)
Power supply:
Six AAA alkaline batteries (LR03)
Six AAA Ni-MH batteries (HR03)
Optional AC adapter (AD-24ESA)
Tape cassette:
Brother P-touch TZe tape widths:
3.5 mm, 6 mm, 9 mm, 12 mm
Ribbon cassette:
Brother P-touch TZe ribbon widths:
12 mm
*1
Visit support.brother.com for the latest
information about recommended batteries.
Accessories
Tape
Visit the Brother support website at
Cassettes:
support.brother.com for the latest
information about consumables.
AC Adapter: AD-24ESA
Cutter Unit: TC-4 (replacement)
If the cutter blade becomes blunt after repetitive use
and the tape cannot be cut cleanly, turn around the
cutter board as shown in the illustration 1.
Cutter board
If you still have difficulty, replace the blunt cutter
blade with a new cutter unit (stock no. TC-4) by
obtaining one from an authorised Brother dealer.
Replacing the Cutter Unit
Pull out the two sections of the cutter unit
1.
(green) in the direction of the arrows shown in
the illustration 2.
Install the new cutter unit. Push it in until it
2.
locks into place.
Do not touch the cutter blade directly with your
fingers.
WARNING
*1
