Brother Business Smart MFC-J4510dw Panduan Memulai Cepat - Halaman 6

Jelajahi secara online atau unduh pdf Panduan Memulai Cepat untuk Server Cetak Brother Business Smart MFC-J4510dw. Brother Business Smart MFC-J4510dw 29 halaman. Quick setup guide - spanish
Juga untuk Brother Business Smart MFC-J4510dw: Manual (36 halaman), Manual (22 halaman), Panduan Keamanan Produk (17 halaman), Manual (13 halaman), Manual (22 halaman), Panduan Pengaturan Cepat (47 halaman), Manual (18 halaman), Panduan Pengaturan Cepat (47 halaman), Brosur & Spesifikasi (4 halaman), Panduan Keamanan Produk (20 halaman), Spesifikasi (2 halaman), Panduan Pengaturan Cepat (47 halaman), Panduan Keamanan Produk (25 halaman), (Spanyol) Panduan Guia De Web Connect (38 halaman), Manual (Spanyol) (24 halaman), (Bahasa Inggris) Panduan Panduan Keamanan Produk (16 halaman), Manual (Spanyol) (11 halaman), (Bahasa Inggris) Panduan Konfigurasi Cepat (47 halaman)
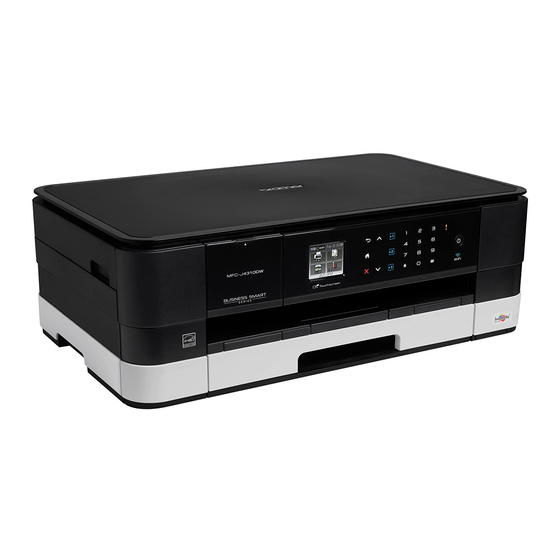
Brother Business Smart MFC-J4510dw Panduan Memulai Cepat
5

Check the print quality

a
When the preparation process has finished, the
Touchscreen shows Set paper and press
[OK].
Press OK.
b
Check the quality of the four colour blocks on
the sheet. (black/yellow/cyan/magenta)
c
If all lines are clear and visible, press Yes to
finish the quality check and go to the next step.
If you can see missing short lines, press No and
follow the steps on the Touchscreen.
6
Review Touchscreen
display
The Touchscreen displays information on screen
operation and manual feed slot use. Review this
information and go to the next step. For details, see
the Basic User's Guide.
7
Choose your language
a
Press
.
b
Press All Settings.
c
Swipe up or down, or press a or b to display
Initial Setup.
Press Initial Setup.
d
Swipe up or down, or press a or b to display
Local Language.
Press Local Language.
e
Press your language.
f
Press
.
6
8
Choose a Receive Mode
There are four possible receive modes: Fax Only,
Fax/Tel, Manual and External TAD.
Do you want to use the telephone features of your
machine (if available) or an external telephone or
external telephone answering device connected on the
same line as the machine?
Yes
Are you using the voice message
function of an external telephone
answering device?
No
Do you want the machine to
answer fax and telephone calls
automatically?
Yes
No
Yes
a
Press
.
b
Press All Settings.
c
Swipe up or down, or press a or b to display
Initial Setup.
Press Initial Setup.
d
Press Receive Mode.
e
Press Fax Only, Fax/Tel, External TAD
or Manual.
f
Press
.
No

Fax Only

Your machine
automatically answers
every call as a fax.
Fax/Tel
Your machine controls
the line and
automatically answers
every call. If the call is
not a fax, the telephone
will ring for you to pick
up the call.
Manual
You control the
telephone line and must
answer every call
yourself.
External TAD
Your external telephone
answering device (TAD)
automatically answers
every call. Voice
messages are stored
on the external TAD.
Fax messages are
printed.