Fujitsu ScanSnap iX500 Panduan Memulai - Halaman 9

Jelajahi secara online atau unduh pdf Panduan Memulai untuk Pemindai Fujitsu ScanSnap iX500. Fujitsu ScanSnap iX500 16 halaman. Windows
Juga untuk Fujitsu ScanSnap iX500: Panduan Memulai (17 halaman), Panduan Pengaturan Cepat (3 halaman), Memulai (18 halaman), Tindakan Pencegahan Keselamatan (11 halaman), Manual (2 halaman), Panduan Memulai Cepat (2 halaman), Manual Koneksi Wi-Fi (41 halaman)
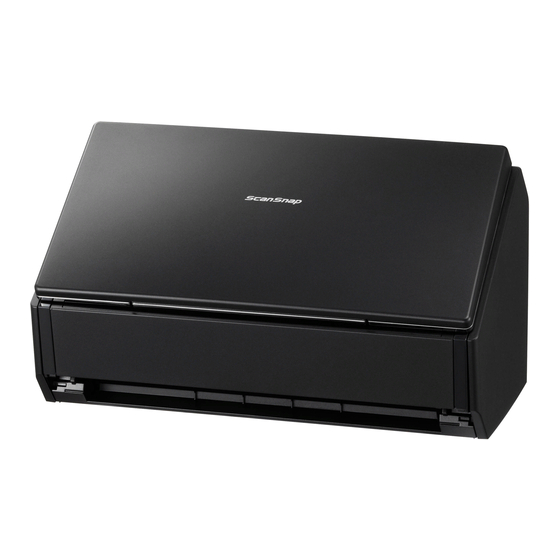
Fujitsu ScanSnap iX500 Panduan Memulai

Connecting the ScanSnap

ATTENTION
Only one ScanSnap can be used by a computer at a time.
Use only the cable supplied with the ScanSnap.
Do not use AC adapters other than the one supplied with this ScanSnap. Doing so may
CAUTION
cause damage to the ScanSnap.
1.
Connect the AC cable to the AC adapter
(collectively called the "power cable").
2.
Plug the power cable into the power
connector at the back of the ScanSnap, and
the other end to an AC outlet.
3.
Remove the tape seal on the USB connector
of the ScanSnap.
4.
Connect the USB cable to the USB connector
on the ScanSnap and the USB port on your
computer.
ATTENTION
When connecting to USB hub, make sure to
connect the ScanSnap to the USB hub which is
connected to a USB port of your computer. Use a
powered USB hub (with AC adapter).
If USB port or USB hub is USB 1.1, scanning speed
will slow down.
Connect the USB cable with the USB mark facing
up.
AC Cable
Power Connector
9
AC Adapter
AC Outlet
Power Cable
Tape Seal
USB Cable