Basic Setup
S T E P
Use ETERNUS Web GUI to perform a basic setup of the ETERNUS DX Disk storage system.
ETERNUS DX Disk Storage System and PC Terminal Connection
Connect a PC terminal to the ETERNUS DX Disk storage system.
Connect the PC terminal to the MNT port of Controller 0 (CM#0) on the controller enclosure directly with the
LAN cable (for operation management).
PC terminal
●
IMPORTANT
●
-Installation- "5.1.1 ETERNUS DX Disk Storage System and PC Terminal Connection"
Powering On
Turn on the PC terminal and the ETERNUS DX Disk storage system.
When turning on the ETERNUS DX
IMPORTANT
Disk storage system for the first time,
volume formatting operation, which is set
as factory default, may be performed.
However, the ETERNUS DX Disk storage
system setting operation can be continued.
-Installation- "5.1.2 Powering On"
ETERNUS Web GUI Startup
1.
Open the Web browser on the PC terminal.
2.
Enter either of the following URLs in the address
bar of the Web browser.
http://192.168.1.1/
https://192.168.1.1/
The logon screen for ETERNUS Web GUI appears.
3.
Enter the Username and Password.
User name: root
Password: root (Default)
After logging on, the Storage System Status screen of
ETERNUS Web GUI appears.
-Installation- "5.1.3 Start up ETERNUS Web GUI"
FUJITSU Storage ETERNUS DX60 S2 Disk storage system Read Me First
LAN port
LAN cable
MNT port of Controller 0 (CM#0)
When the LAN cable for the MNT port of Controller 0 (CM#0) is connected to a network device,
connect the cable to a PC terminal.
Remove the LAN cable that is connected to the MNT port of Controller 1 (CM#1).
Copyright 2014 FUJITSU LIMITED
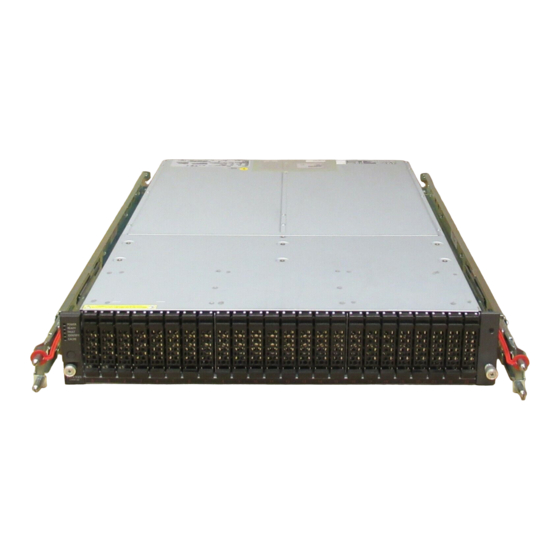
Controller
Enclosure
Drive
Enclosure
Controller
Enclosure
11
Power switch
P3AM-5542-07EN