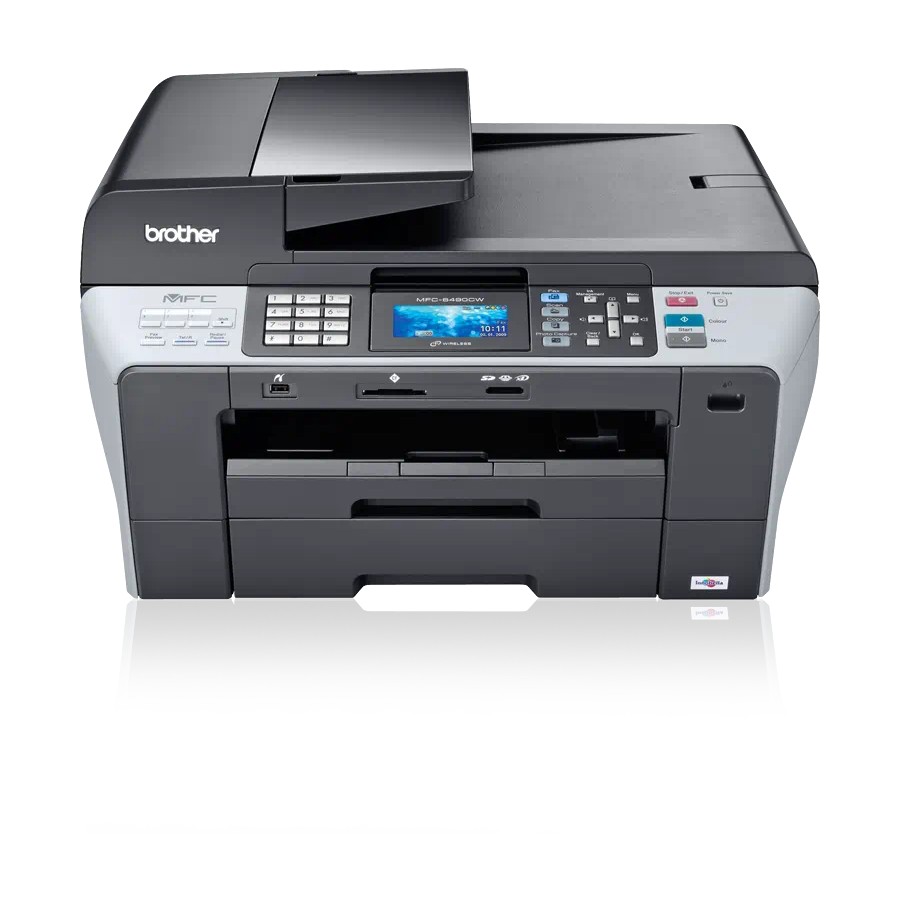
MFC6490CW Vista Network Connection Repair Instructions
6. When the CONFIGURE PORT screen appears compare the IP address or Node Name with the IP
address or Node Name listed on the network configuration page printed in PART 2. If you receive an
error and cannot configure the port, close the error and the printer properties window and continue
to step 7.
a. If the IP address or Node Name is different continue to the next step. If the IP address or
node name is not different this issue is likely caused by other connectivity problems or
machine errors. Go to PART 7 to reestablish a network connection.
b. In the PRINTER NAME OR IP ADDRESS area enter the IP address or Node Name listed on the
network configuration page.
c.
Click OK and this will return you back to the PRINTER PROPERTIES page.
d. Click on the GENERAL tab.
e. Click PRINT TEST PAGE.
f.
A test page should now print correctly. If the test page prints, then the issue is resolved. If
the test page does not print, click OK and close the PRINTER PROPERTIES window. Right
click on the printer, then left click on CANCEL ALL DOCUMENTS and continue to Step 7.
7. Right click on the Brother driver and left click on PROPERTIES. The Brother printer driver properties
screen will now appear.
a. Click the PORTS Tab.
b. Click ADD PORT.
c.
Choose STANDARD TCP/IP PORT then click NEW PORT. The Standard TCP/IP Printer Port
Wizard will appear.
d. Click NEXT.
e. In the field labeled PRINTER NAME OR IP ADDRESS, type the IP address of your Brother
machine from the Network Configuration sheet you printed in PART 2. Click NEXT.
f.
A screen will appear with information about your Brother machine. Click FINISH.
g. Click CLOSE.
h. Click APPLY. Click the GENERAL TAB.
i.
Click PRINT TEST PAGE. A test page should now print correctly. If the test page does not
print, click OK and close the PRINTER PROPERTIES window. Right click on the printer, then
left click on CANCEL ALL DOCUMENTS and continue to PART 7 to reestablish a network
connection.
PART 7: ESTABLISH A WIRELESS CONNECTION:
1. Before you begin, please gather the wireless network settings of your access point or wireless router.
This information can be found on the network configuration page of your wireless router or Access
Point. Please refer to the router or access point's user guide for instructions on accessing the
network configuration page. This information includes:
a. SSID (Service Set ID or Network name): Your Access Point or Wireless Routers are identified
by an SSID or Network Name.
b. Authentication (Open System or Shared Key)/Encryption Type (None or WEP)
c.
WEP Key (If needed)
d. WPA/WPA2-PSK Encryption type (TKIP or AES) (If needed)
e. WPA/WPA2-PSK (Pre-shared Key) (If needed)
2. Verify the Wireless Router or Access Point is setup for DHCP. This setting is required in order for the
router or access point to broadcast a valid IP address to the device. Please refer to the user guide of
your wireless router or access point for additional information.
3. If the Brother machine was previously configured for wireless connection, continue to step 4. If the
machine was NOT configured for wireless connection, go to step 5.
4. If the Brother machine was previously configured for wireless connection the network settings need
to be reset before the unit can be configured for new wireless settings. Complete the following steps
to reset the Network Card.
NOTE: Resetting the network card will erase all current network settings.
3
© 1995 - 2010 Brother International Corporation
www.brother-usa.com

